
If at first you don’t succeed, try, try, try… try again. I had a lot of trouble with mission 2 of the Taskforce Challenger mini-campaign that Eagle Dynamics made available a couple of months ago. Mission 1 went fairly well and I’ve now flown the second mission five times and only finally succeeded now. There’s lots to be learned in failing missions so I thought I’d write a blog post to talk about my learning process.
Not always according to plan

Full power departure 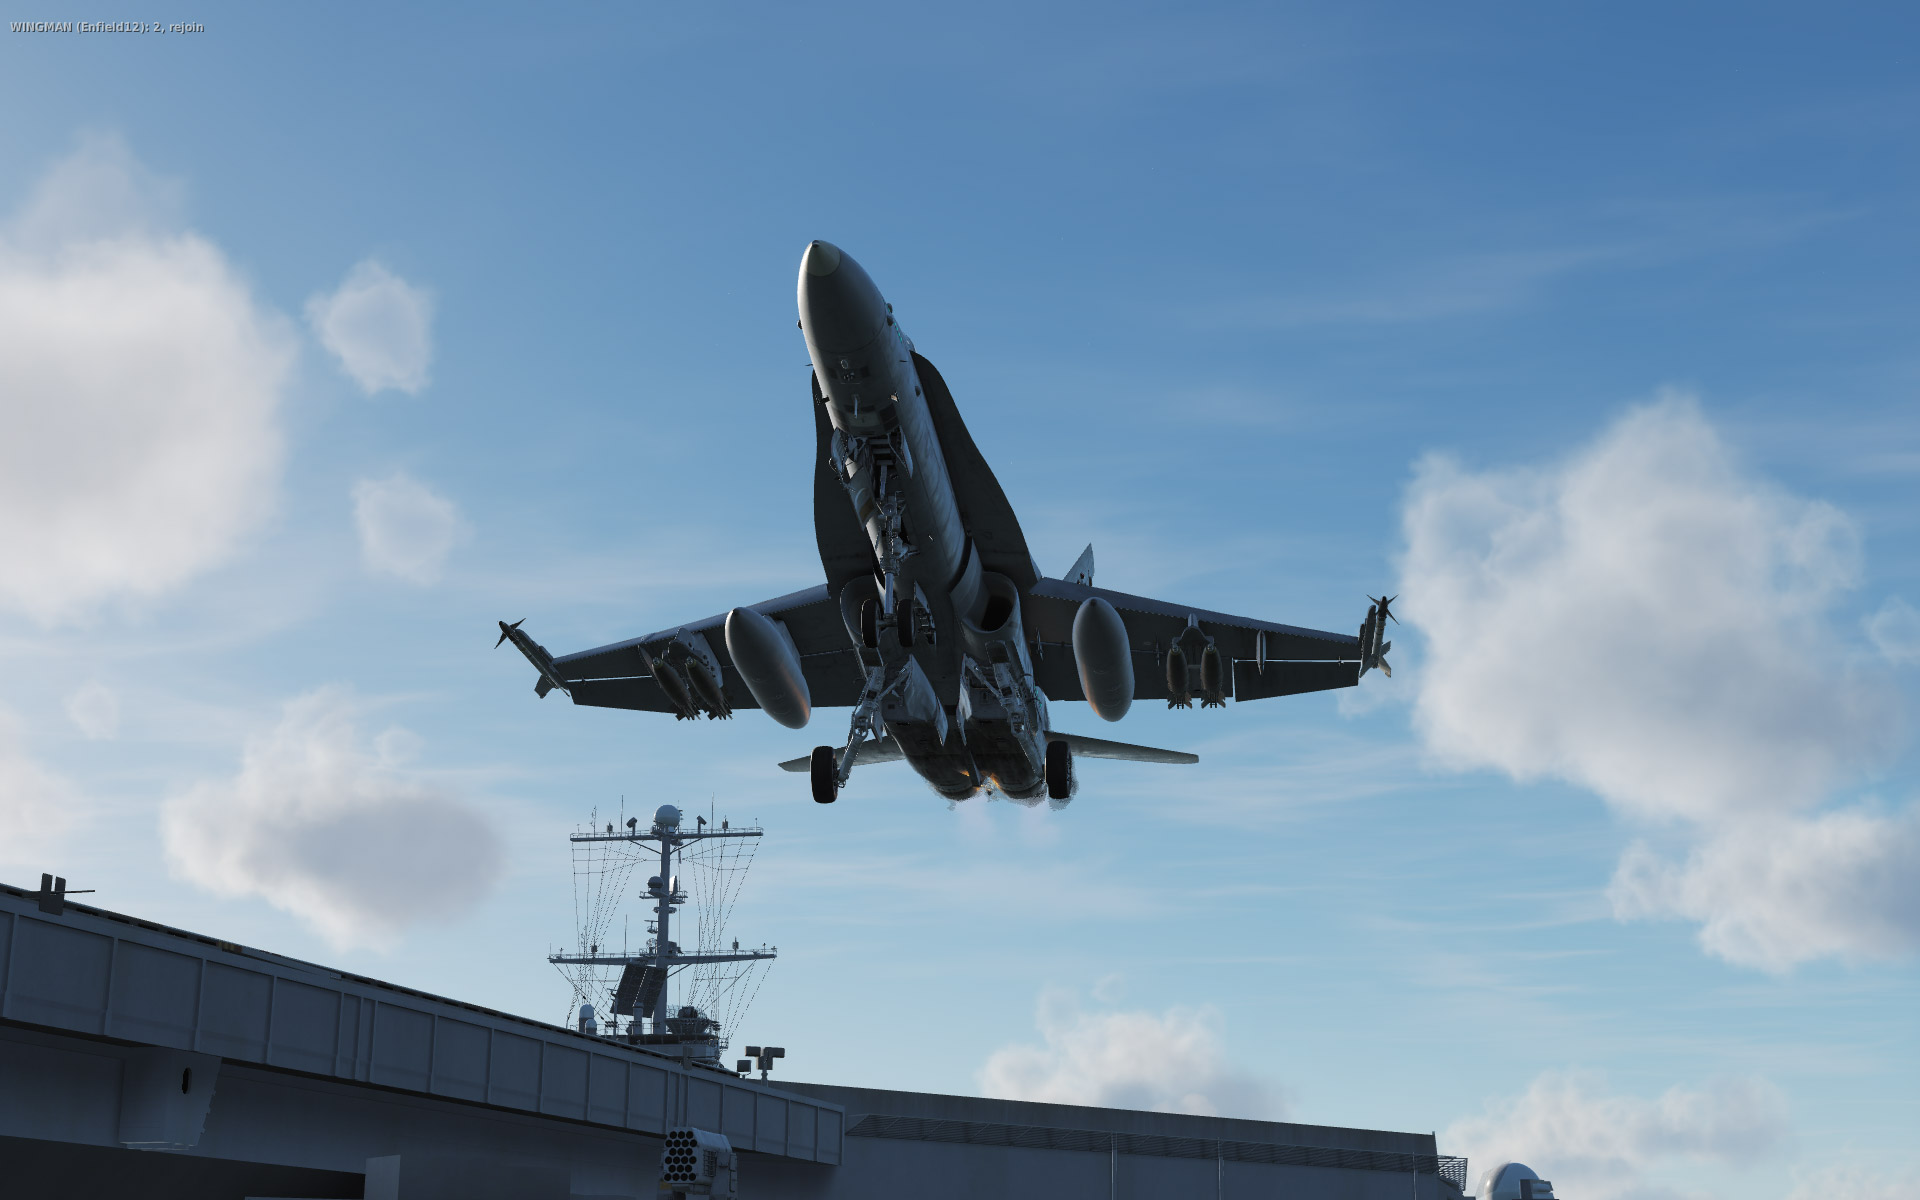
Off the catapult
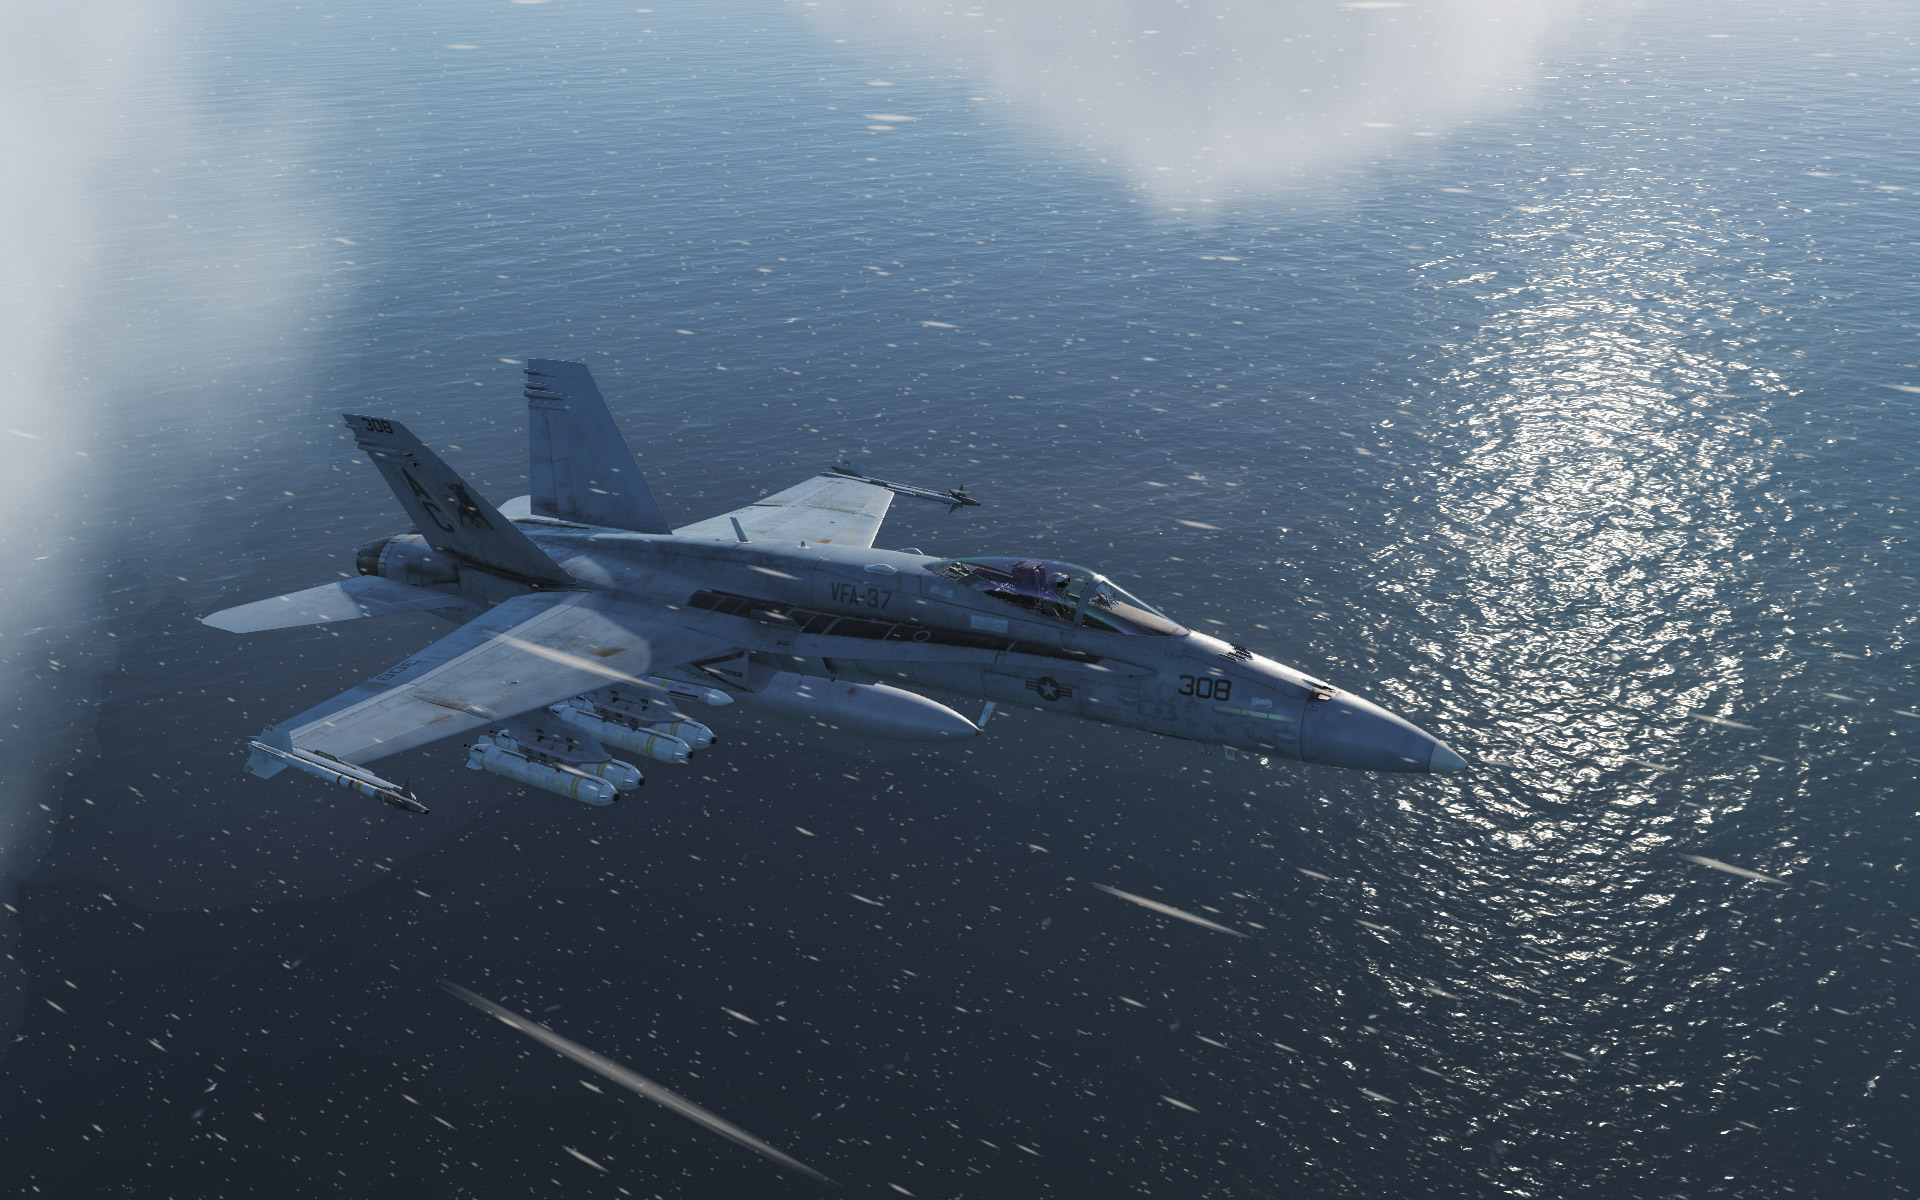
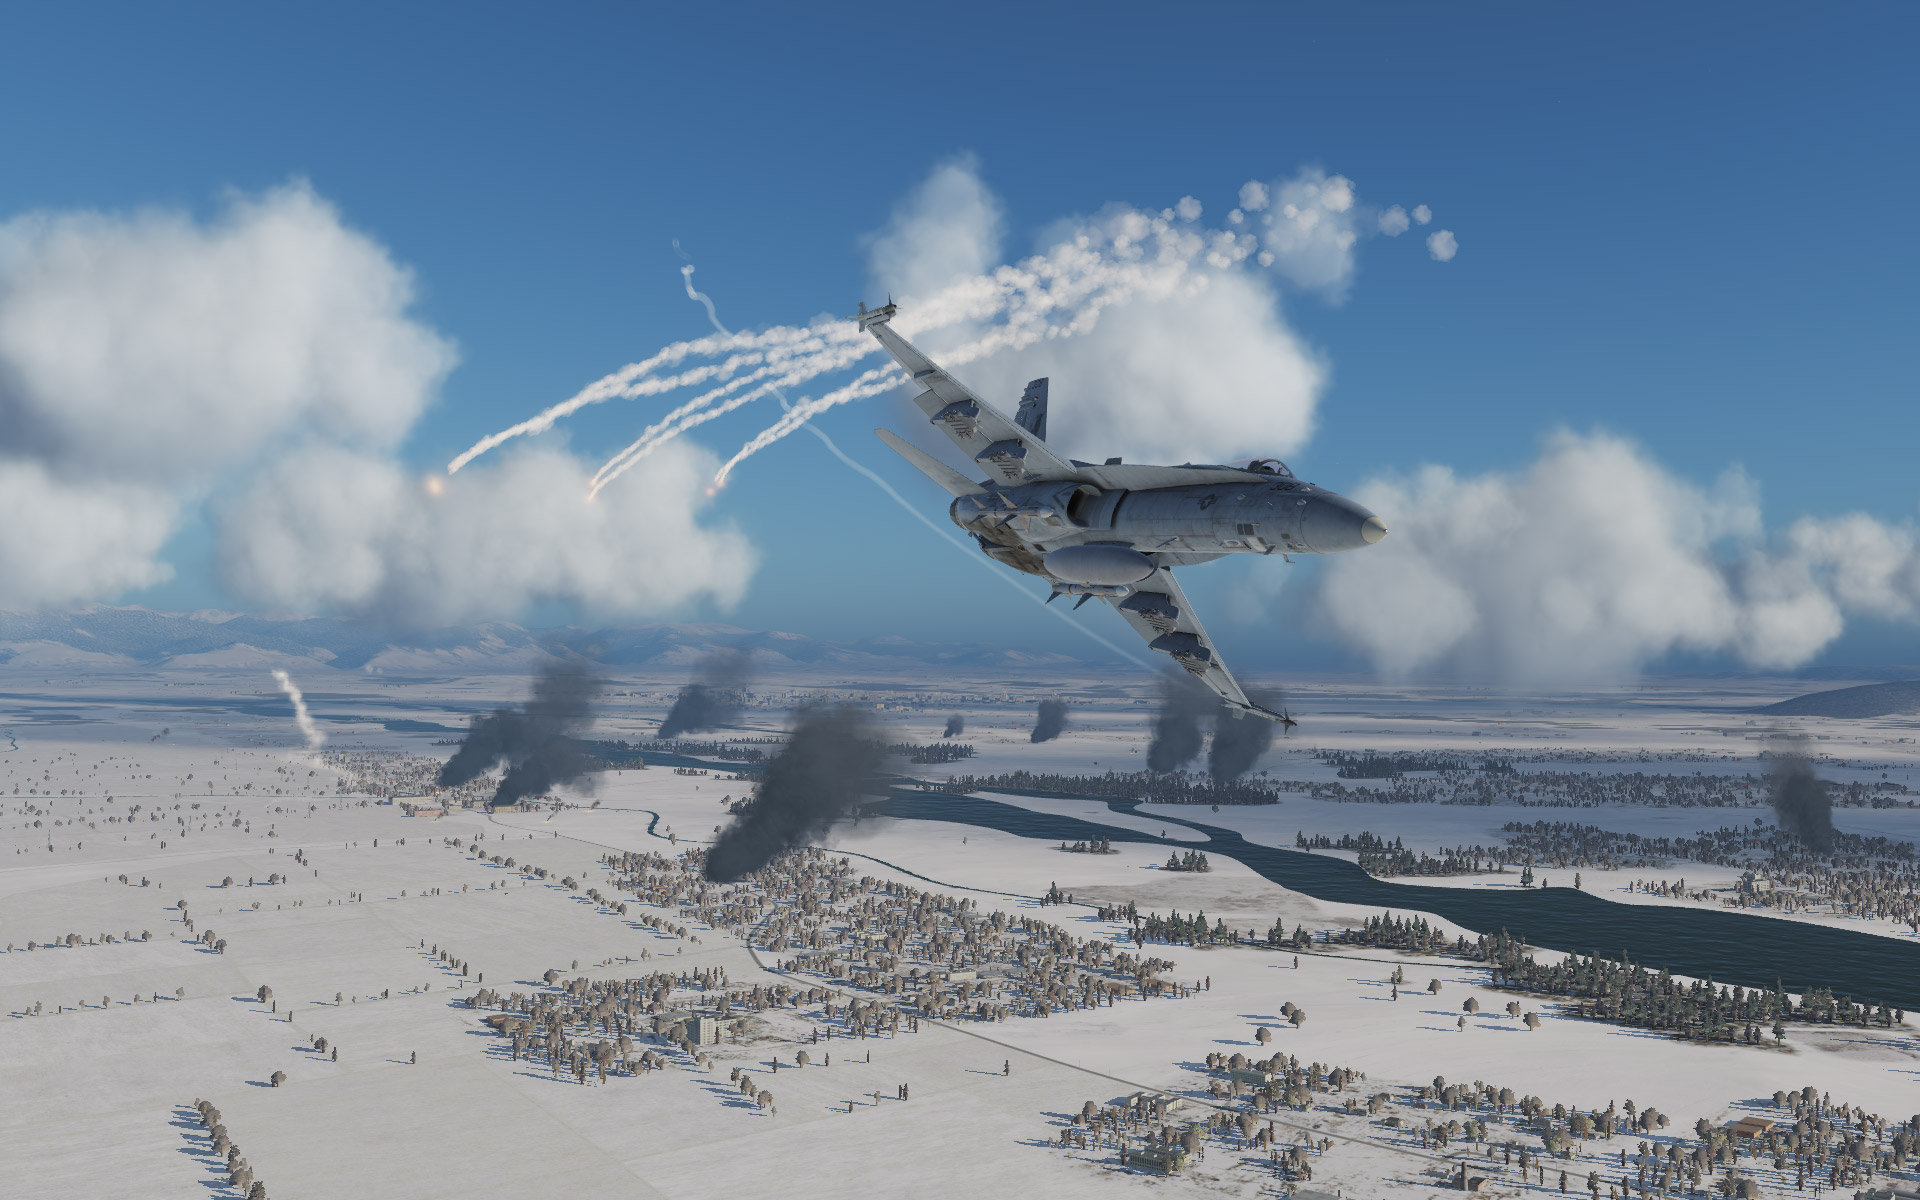
The first part of this mission goes off without a hitch nearly every time I’ve played it. I launch from the deck of the USS John C. Stennis on a close air support mission in Georgia in the town of Zeni where Russian forces are attempting to cross the river. Armored units are the target and our F/A-18Cs are equipped with Sparrow and Sidewinders for self defense as well as Mk-20 cluster munitions.
For added fun, this bright sunny winter day in Georgia is beset by scattered snowsqualls which are super fun (though brief) to fly through and they remind me both of driving through the snow in real life and the whole Star Wars jumping to hyperspace sequence too.
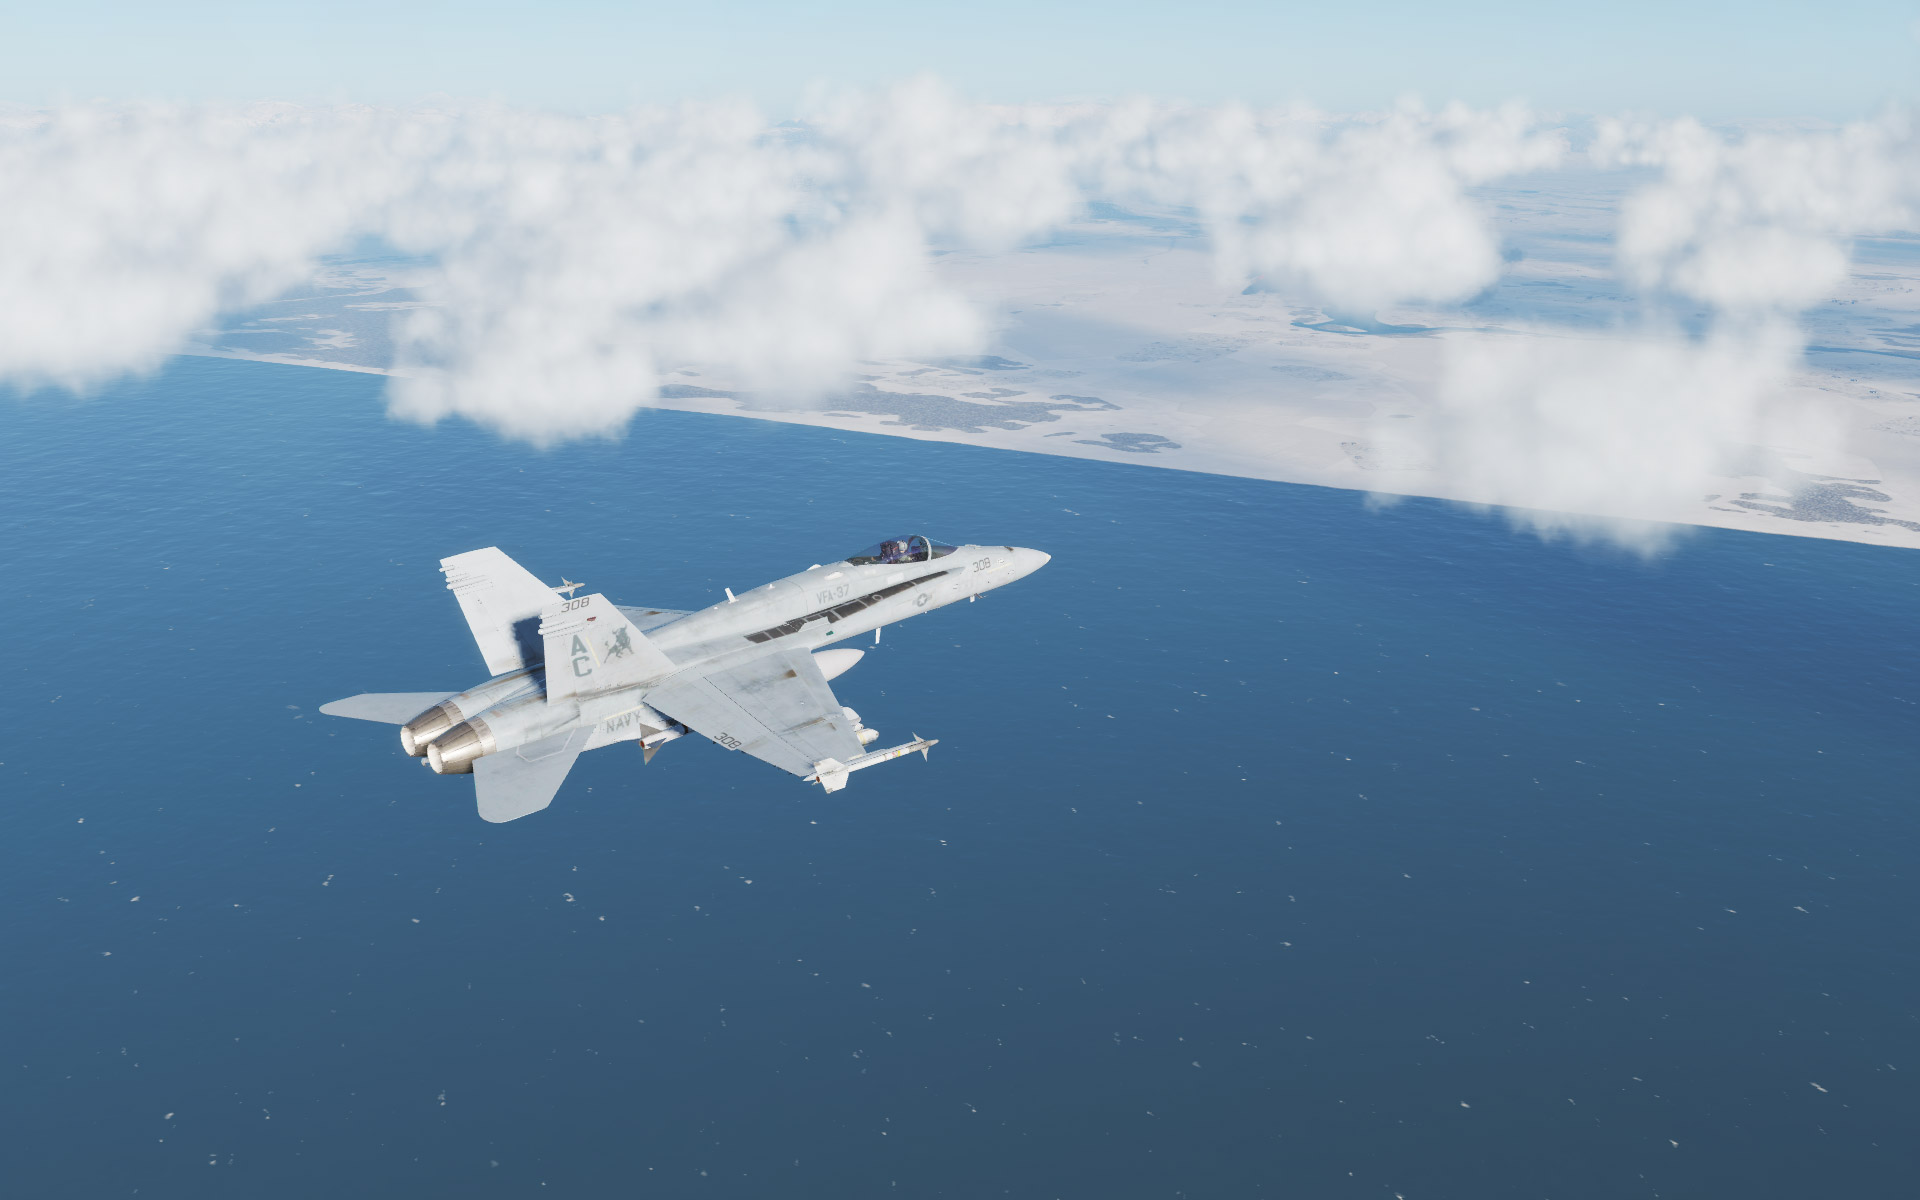
F-14s provide the primary combat air support while another flight of F/A-18Cs provide SEAD support with HARM missiles (these aircraft are using the old F/A-18C model and can be fitted with HARM missiles – one assumes they will be upgraded later on). You can see all of this going on in the background with the F-14s contrails snaking through the sky and AWACs calling out bandits at 30,000 feet.
Once the enemy fighters are down and the SA-6 batteries are out of commission, it’s our turn. Time to roll the Hornet in on the attack as we cross the coast and go feet dry.
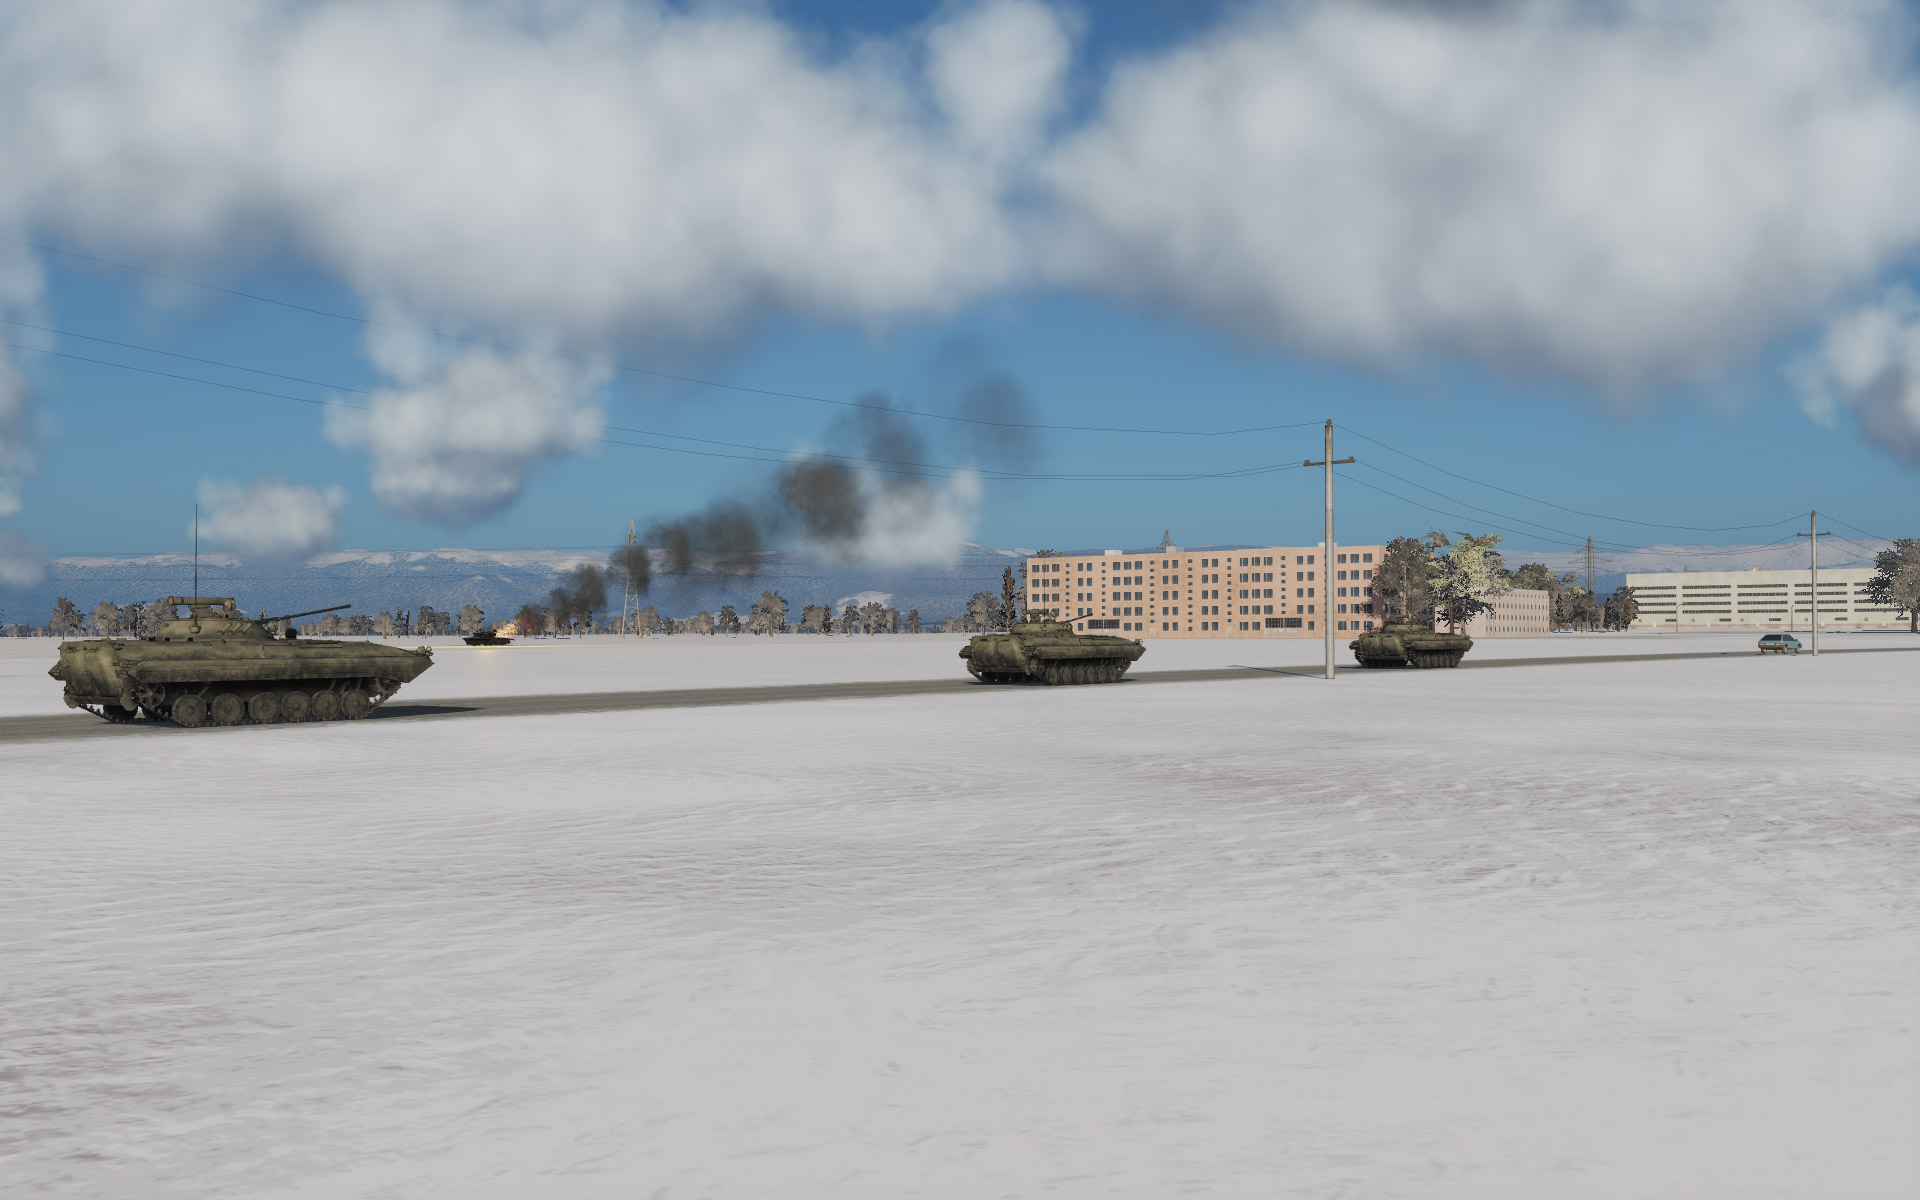
The first few times I played this I missed the APCs on the first run and had to swing around for a second pass. Well, that proved to be dangerous as an IR SAM locked me up and shot me down the first time.
On the second time I got past the SAM but got hit with AAA fire and died.
On the third try I hit the target, avoided the AAA, but had forgotten my countermeasures (and the SAM) and was hit and shot down again.
The fourth time was only mildly more successful but I did hit the target and I did RTB. But I didn’t make it on the deck as the damage to my aircraft was extensive. In these following screenshots you’ll see that one of my elevators was missing, I had FCS errors, and once the speed dropped the aircraft became uncontrollable and I had to abort landing and eject.

Damaged but still flying 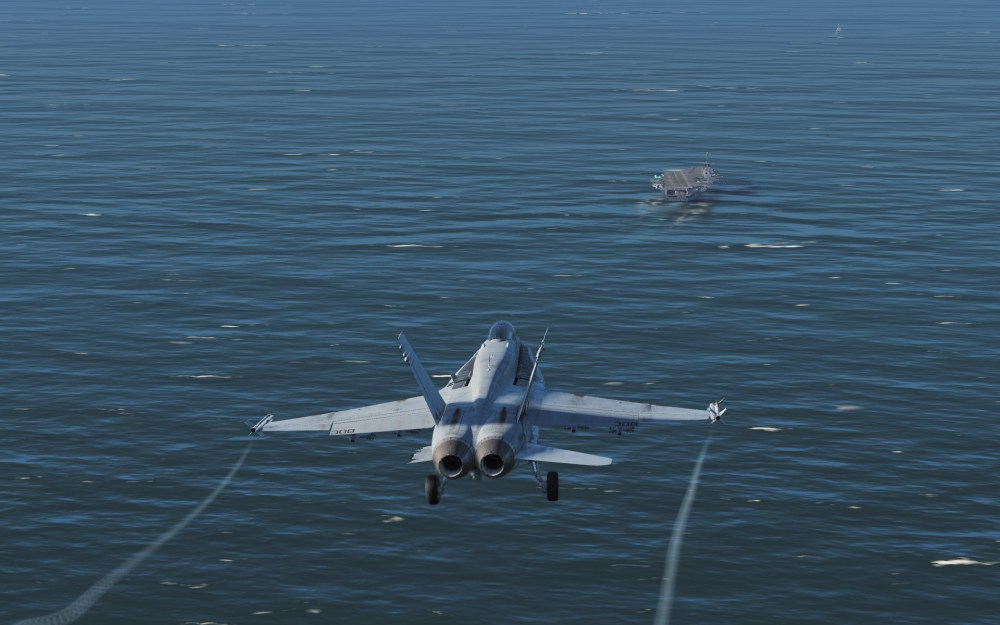
Approach is good… 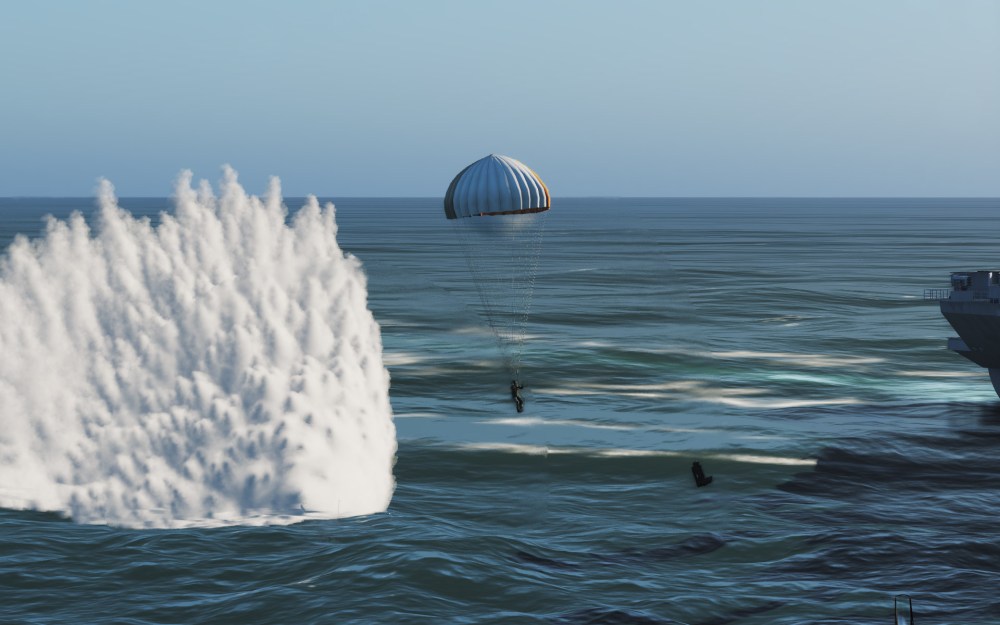
… but the aircraft became difficult to control. Eject!
This was proving to be a challenge but I did appreciate the incredible scenery and the very active battleground setup for this mission.

Learning process!
It’s a flight simulator and that means I can hit the refly and do things over again. And again. And again until I get it right and that’s exactly what’s great about this because it allows for the opportunity to correct those errors.
So what did I do differently on my fifth go around? First, I’m getting better at checking all systems before I go into battle. Is my counter measure system setup the way I want it to be? Are my bombs armed and configured the way I want them to be? Is the master arm switch set. Etc. All of these things I’ve been a bit complacent about but now I’m paying more attention to them.
Second, I’ve studied the maps and the target zones better than I have in the past. It helps too that I now know where the APCs should be on approach. A combination of these features means I can spot the targets, roll in hot, pickle, and get out more quickly and this brings me to that third and final main point.
This time around I aimed for target, rolled in, and then once my bombs were away I was focused on an egress plan. Before I was watching to see what happened and flying around looking for extra targets – that’s a mistake with all of the AAA and SAM activity still active.
Now, I’ll be more focused on getting in, hitting the target, using countermeasures appropriately on the before and after, and then getting out of the target area. This doesn’t eliminate the danger but it does minimize it. It’s the smarter play and I’m going to try and learn this for later.


Final approach. Call the ball! 
Didn’t catch the third wire. But still ok. 
Phew! Sixth time’s a charm!
Still working on sticking that landing
As much as I’d like to pat myself on the back on a mission well done this time, I do have to report that I took me 6 tries to put that Hornet back on the deck and actually catch a wire. I’ve been practicing but not nearly enough and so it looks like I need to go back to Hornet carrier qualifications and re-learn some of that so I’m following the numbers and flying the approach that I’m supposed to fly.
There’s always something new to learn!


Leave a comment