
Flying warbirds in DCS World is an interesting experience for me as I had purposely separated the modern jets from the warbirds infavour of IL-2: Great Battles Series. Now with both WWII experiences now available to me it’s been a fun journey adapting to a sim that I know so well but with a subject matter that I more closely associate with another simulation. This post is some of my thoughts and experience with mission one of the Epsom Campaign for DCS: Spitfire IXc plus a few comments on what the Spitfire IX is like in DCS World.
Setting out on my first Spitfire IX combat mission

I’ve practiced in the quick missions but this was my first full combat sortie in the DCS Spitfire IX and it took me three tries to get it right with each attempt proving to be a solid learning experience.
My first attempt ended badly with me jamming on the brakes a little too hard and the Spitfire doing it’s best to topple forward and damage the engine, lose a propeller, and generally ruin the mission. To add insult to injury, my wingman then proceeded to taxi into my now damaged Spitfire.

Brakes are different here than what I’m used to and when you tap them just a little too long they can really brake the aircraft and force it to nose over. Something I have to really watch when using a push button for braking – rudder pedals with brake in my future for sure!
My second attempt went much more smoothly with me taking off right on schedule as dictated by the mission briefing.

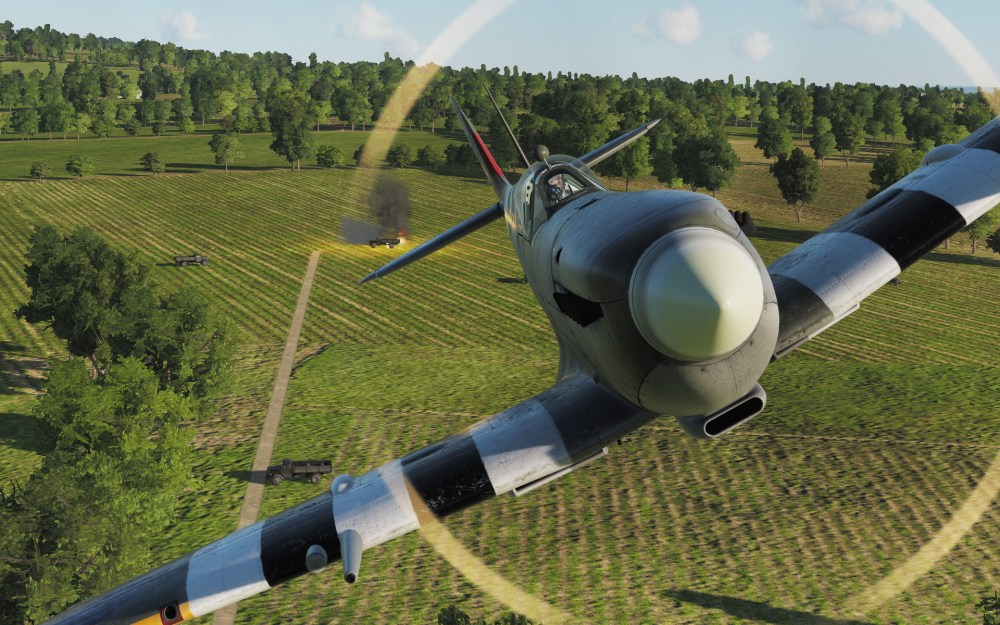
But this mission was also to be cut short. On the lookout for enemy activity, we came across quite a lot of flak. The flak drew me to a group of parked vehicles that were protected by some 37mm flak batteries and those flak batteries got the better of me on my second pass with my Spitfire being turned into a flaming pile.
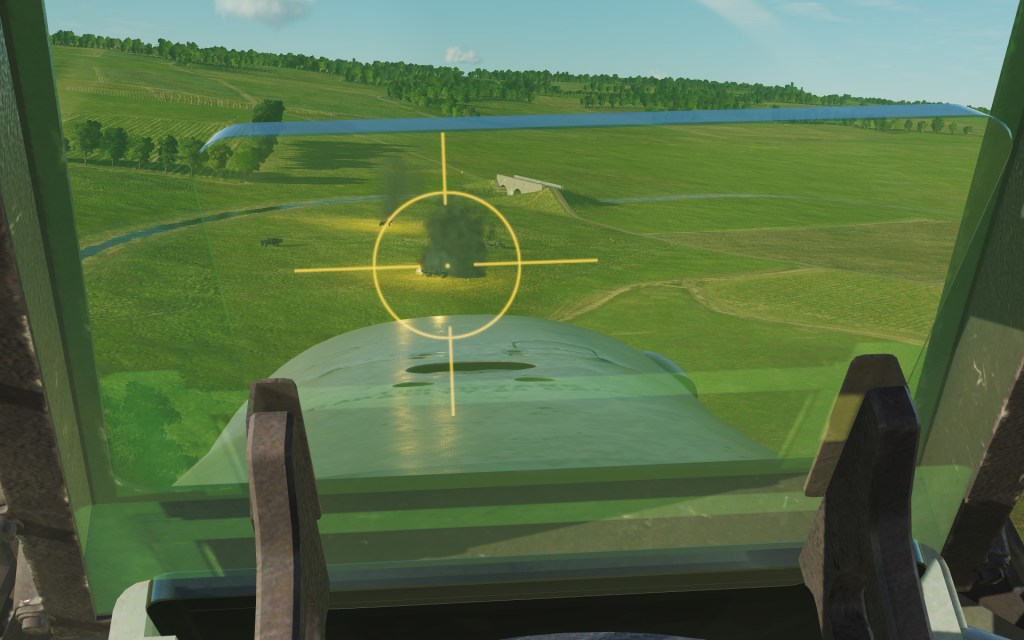
Attempt number three and now I think I’ve got this figured out. Flying the mission I found yet another group of vehicles but this time they were far more poorly defended by AAA batteries (though many were nearby). I also adjusted my attack pattern using more trees and hills to mask my approach giving them less time to track me. This is something that does seem to work well against DCS World’s AA guns.
Making several passes on the targets I was able to kill a good number of trucks.
I decided that it would be best if I continued the patrol route and saved up some ammunition in-case we ran into enemy fighters or spotted more vehicles on the ground.
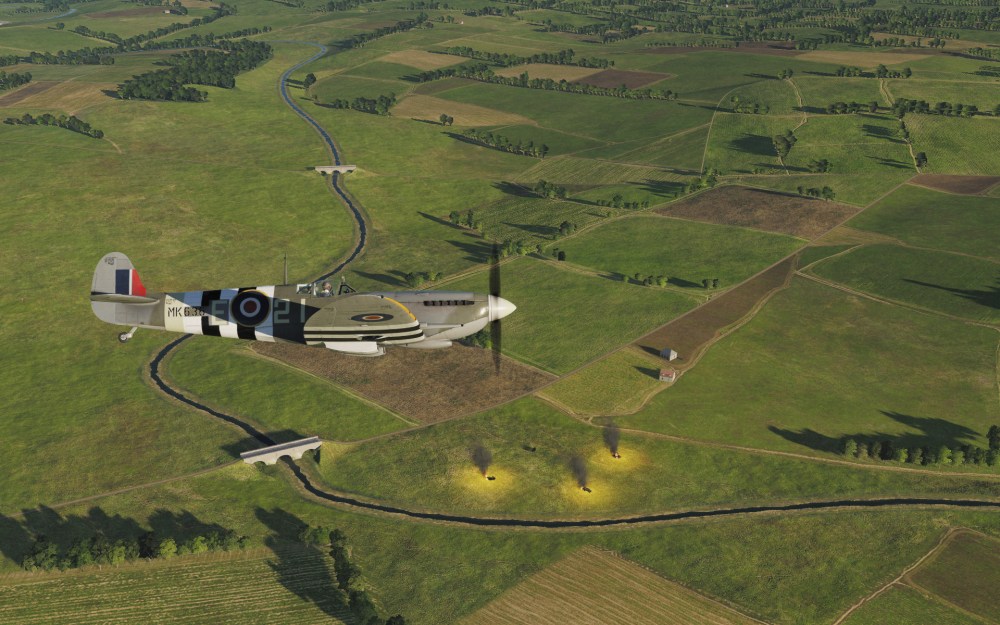
During the patrol, the Luftwaffe was absent (although plenty of Allied aircraft were up) but we did spot some more trucks and an armored vehicle.
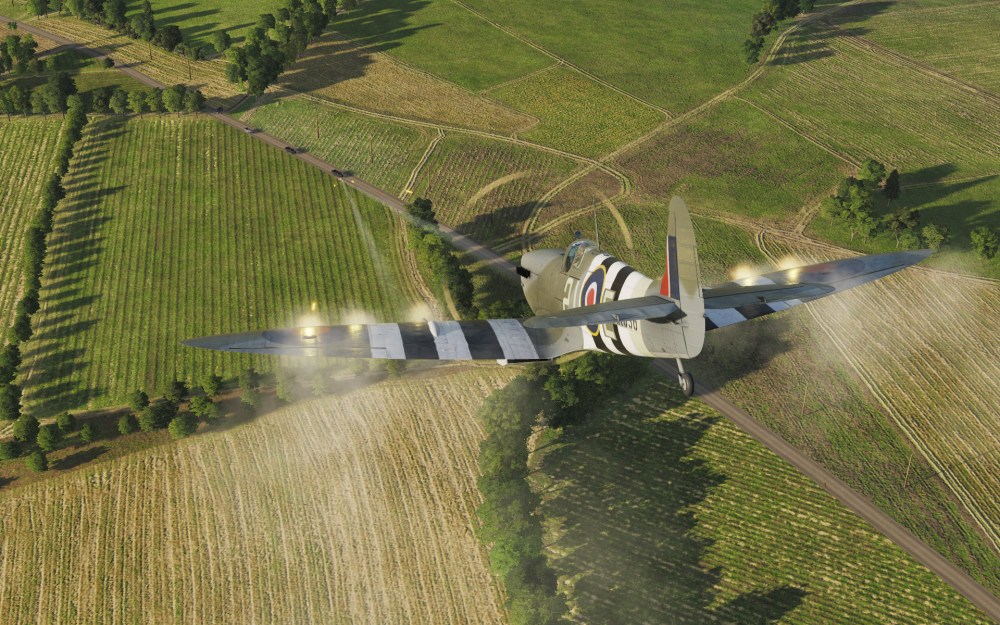
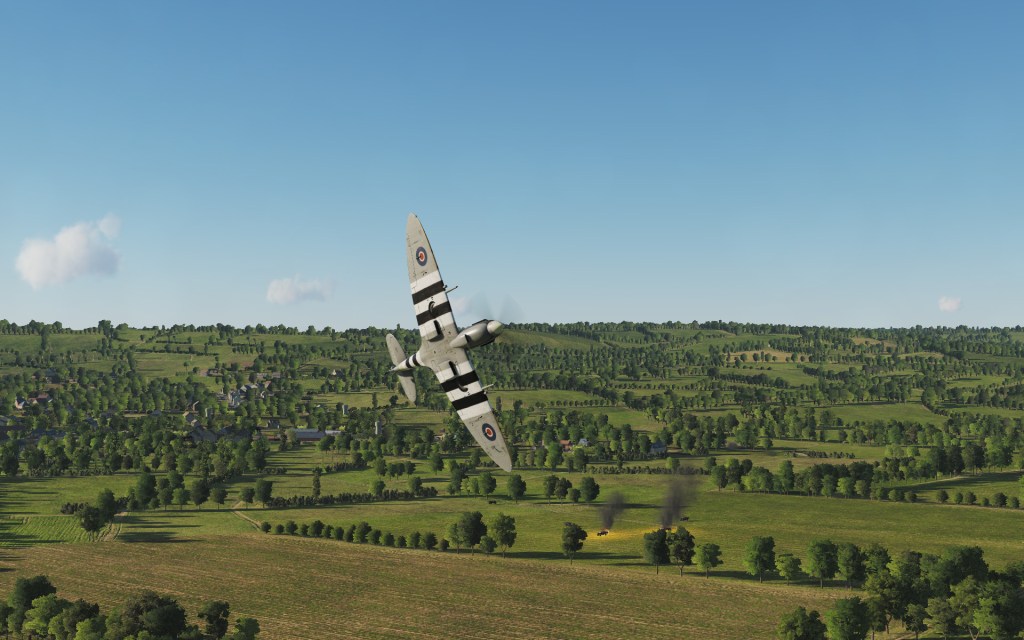
I made several passes on these vehicles until the majority of them were burning before moving on towards yet another group of vehicles nearby.

After a few more passes, the guns were empty and it was time to return to base.
Setting course for home, there was a little trepidation as my guns were empty and I wasn’t really prepared to take on any enemy fighters. Fortunately, none appeared and it was a straight shot back home.

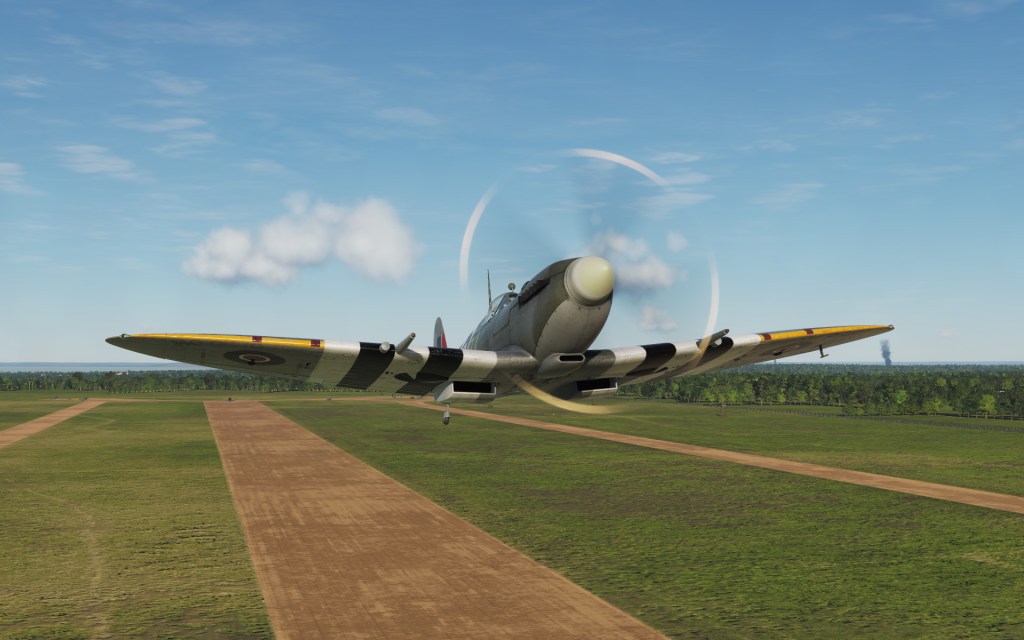
Lining up on the field with the Spitfire IX in DCS World isn’t that different from IL-2. The biggest difference is keeping on top of the trim which you constantly need to manage in DCS World. The Spitfire here seems very sensitive to trim adjustments so keeping things on center really seems to help. Adjusting the control curves also makes a big difference.
Fortunately, landing in both sims is pretty much the same approach profile and the same three point technique seeming to work with both. The flaps in this version of the Spitfire seem to have slightly less of an effect on the attitude of the aircraft but I’m really splitting hairs here.
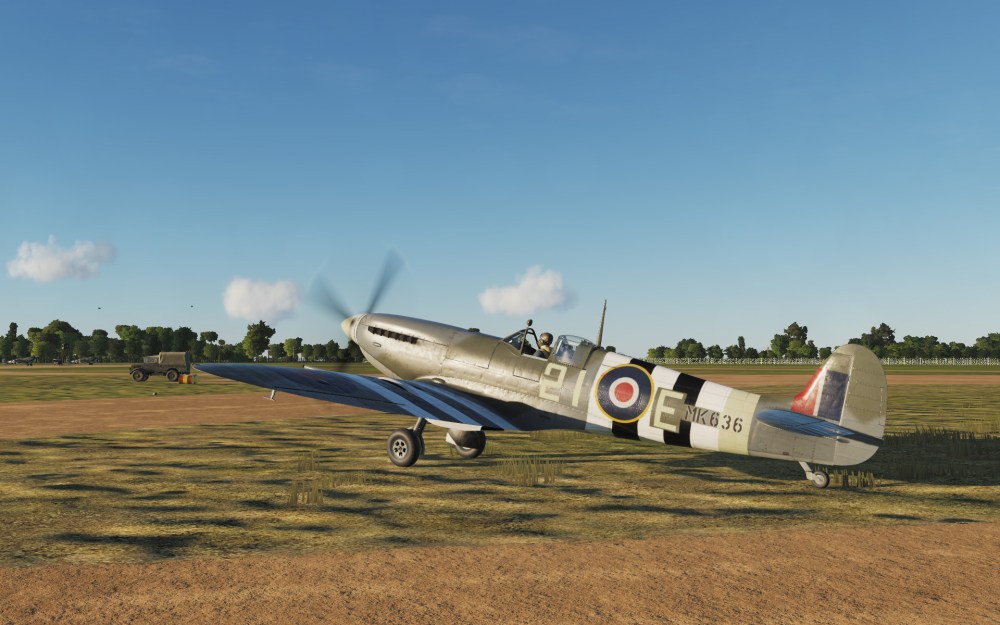
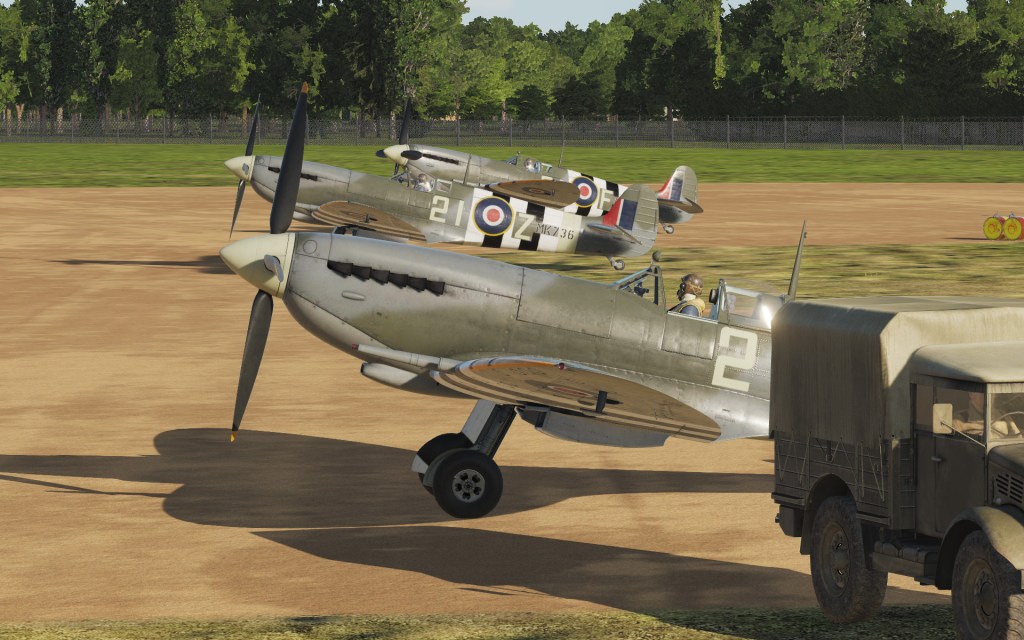
Success in the end with my Spitfire successfully taxied and parked.
It was a great experience, lots of fun to fly, and I’m looking forward to future missions.


Leave a comment