Prolific campaign builder Alexander =BlackSix= Timoshkov has delivered his latest project: ‘Ram Squadron’ in a recent IL-2 Sturmovik: Great Battles update. This time around we’re flying with Royal Canadian Air Force No. 401 squadron. This squadron, with its long history, is featured during the Battle of Normandy in this campaign and here are the first three missions.
Spoilers
I’m going to go through my experience with the first three missions here. If you like to be fully surprised on what happens, you may want to read after you’ve flown the campaign.
The acclimation
Black Six has a habit of using the first mission to subtly tell a story while acclimating the player to the squadron and the role that they will be playing. That’s very much the case with the first mission titled “XXXX.”
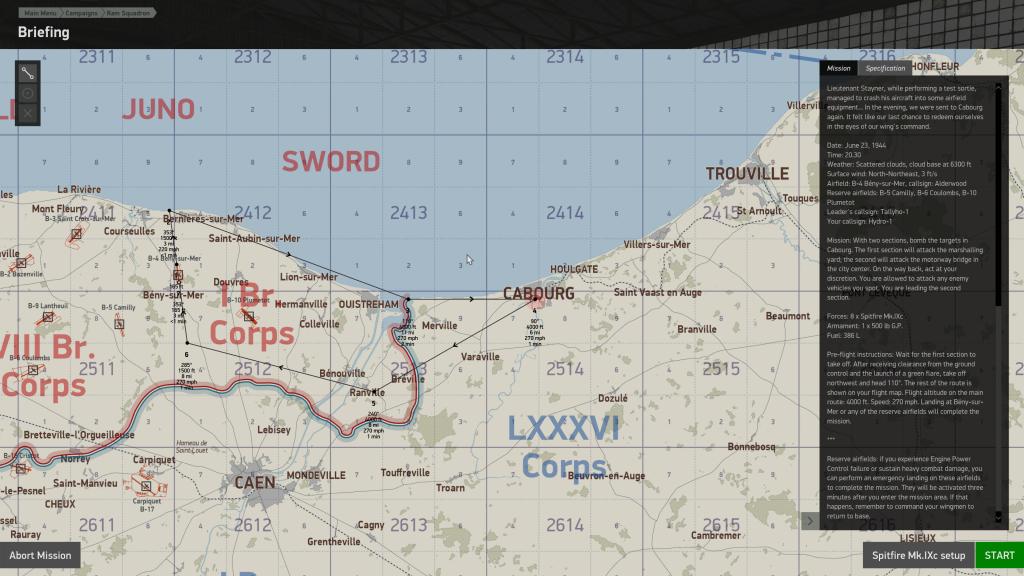
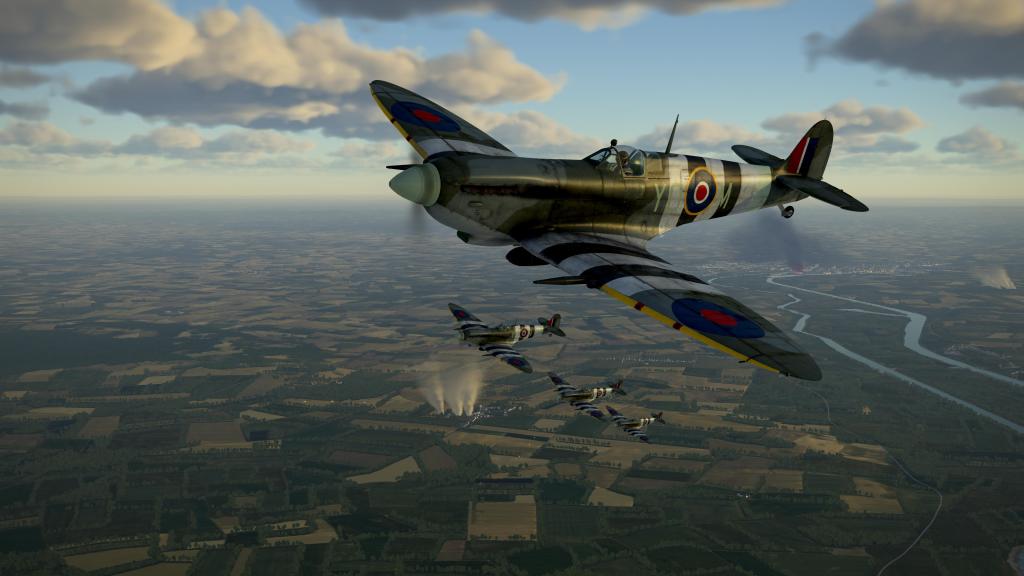
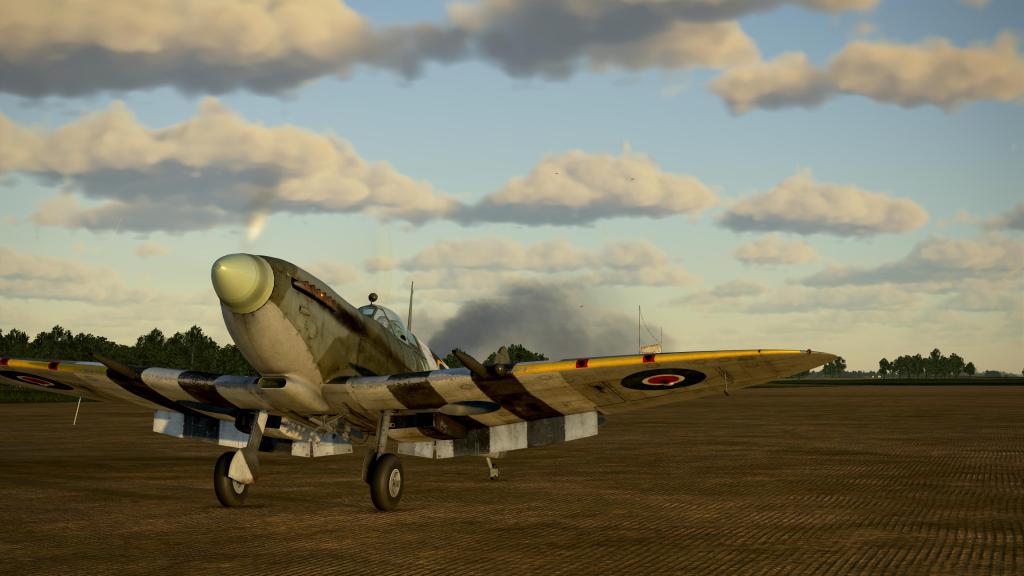
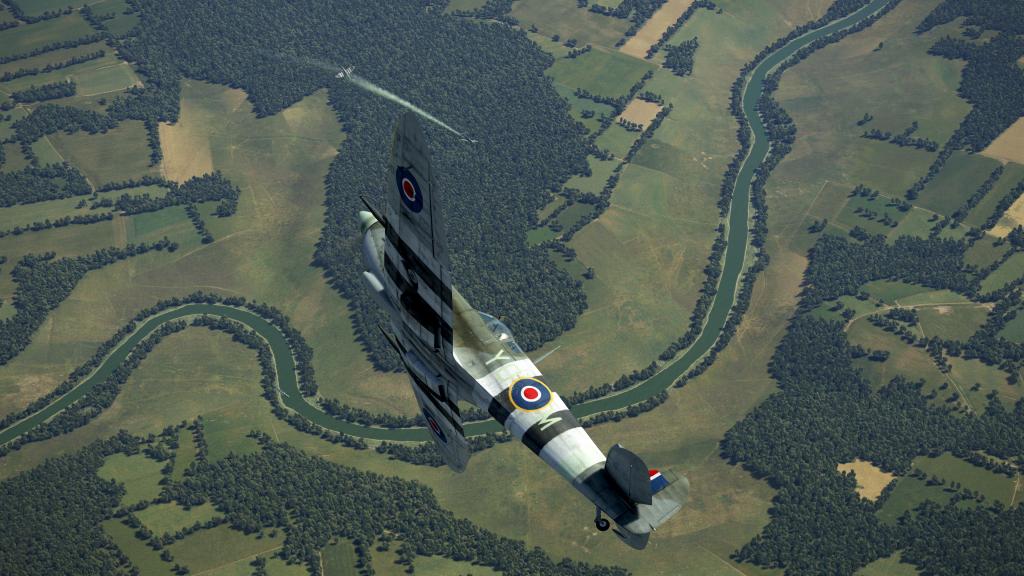
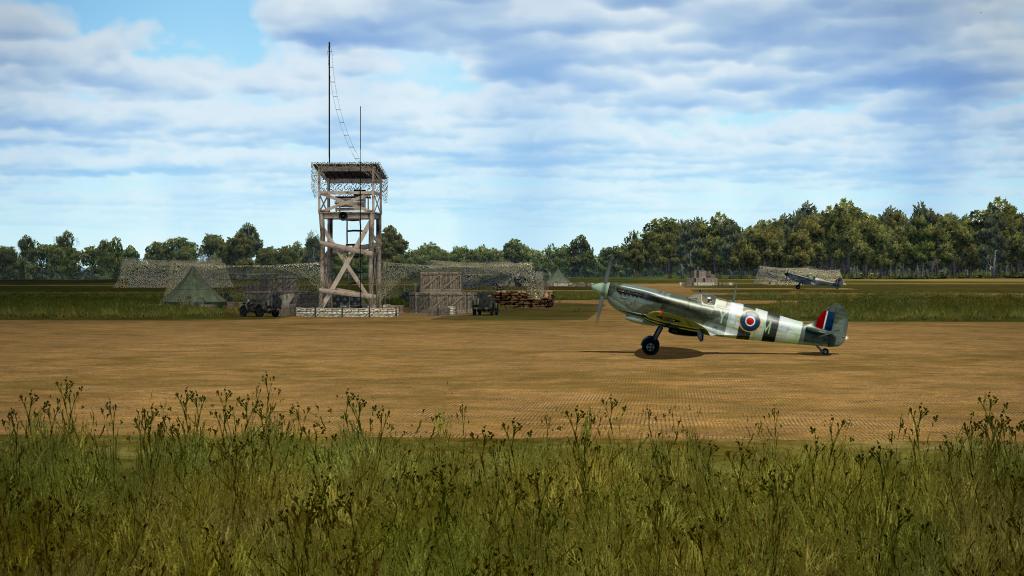
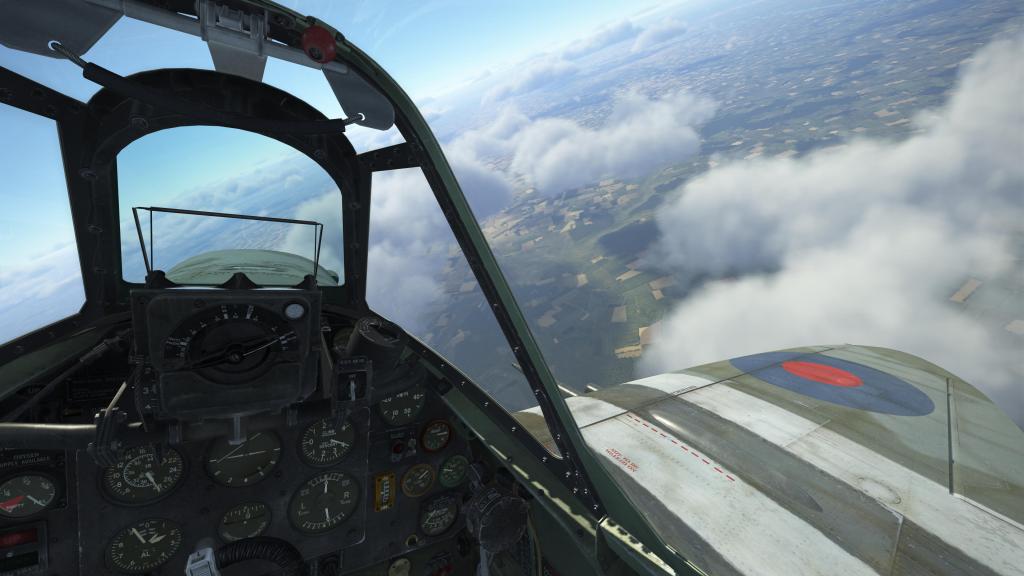
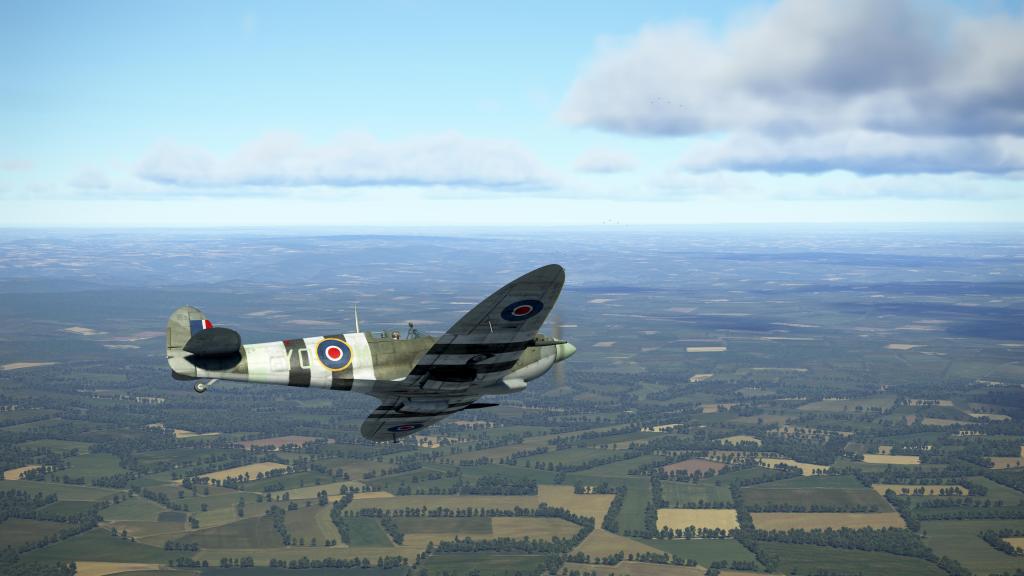
Starting off from B.4 at Beny-su-Mer, you lead the second of two wings of fighters sent out to attack targets at Cabourg on the Normandy coast. Your unit is set to attack a bridge while the first targets a nearby industrial area and some of the vehicles within it.
You may be surprised to see the first mission of a Spitfire campaign being a ground attack operation, however, this was relatively typical for tactical fighter squadrons within the Royal Air Force’s 2nd Tactical Air Force. They were called on to perform ground strikes and fighter sweeps and so for this first mission were doing the former.
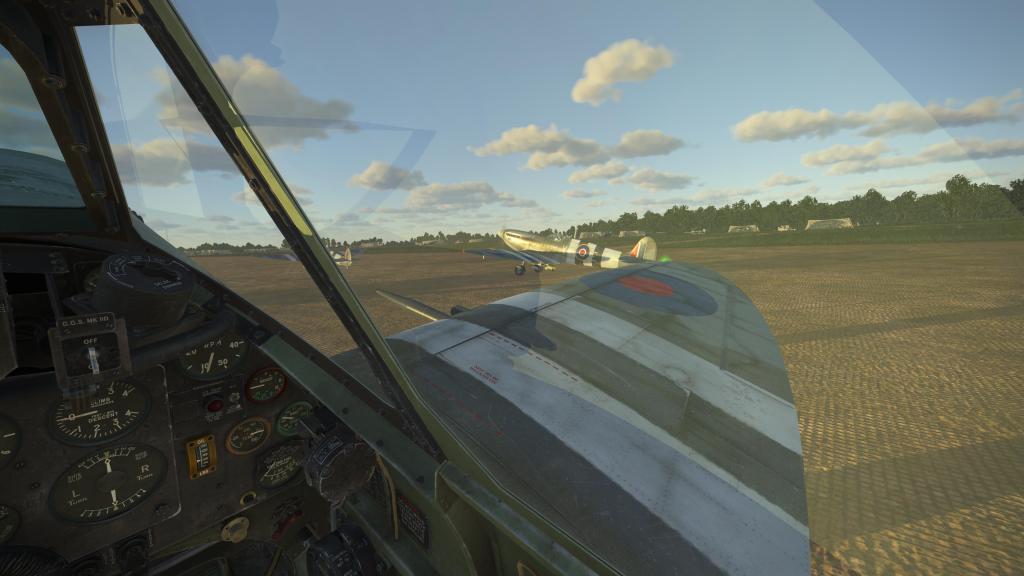
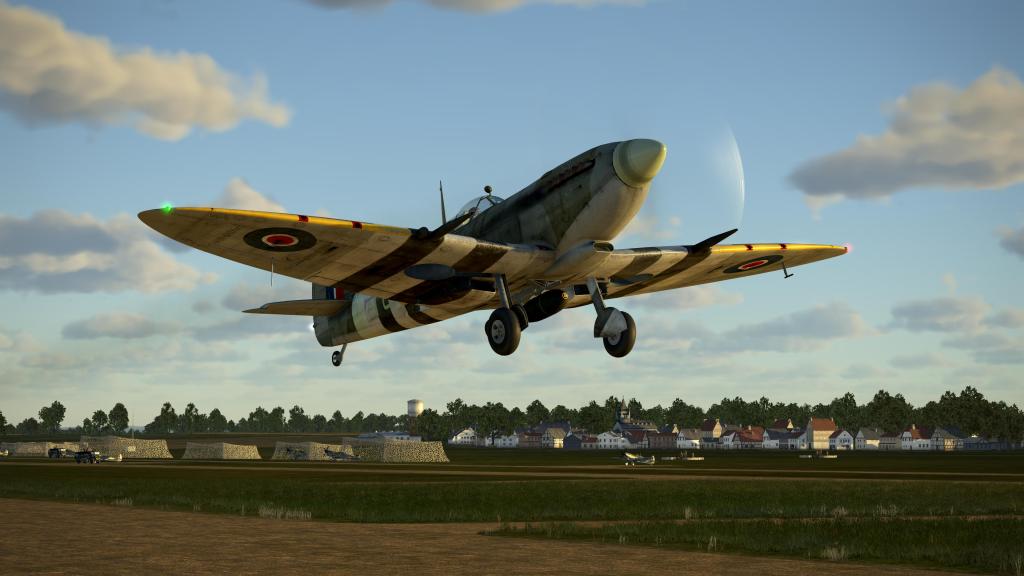
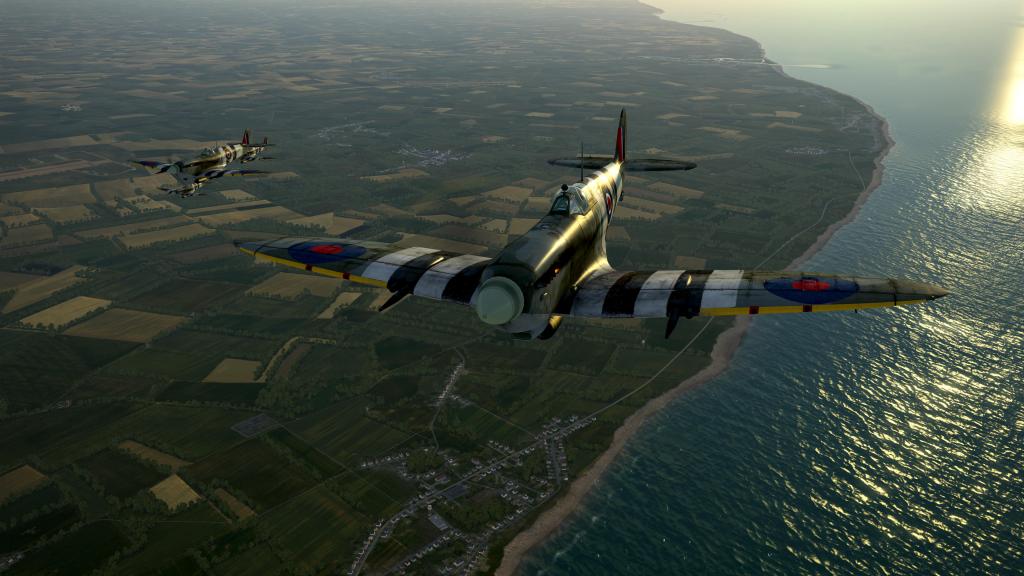
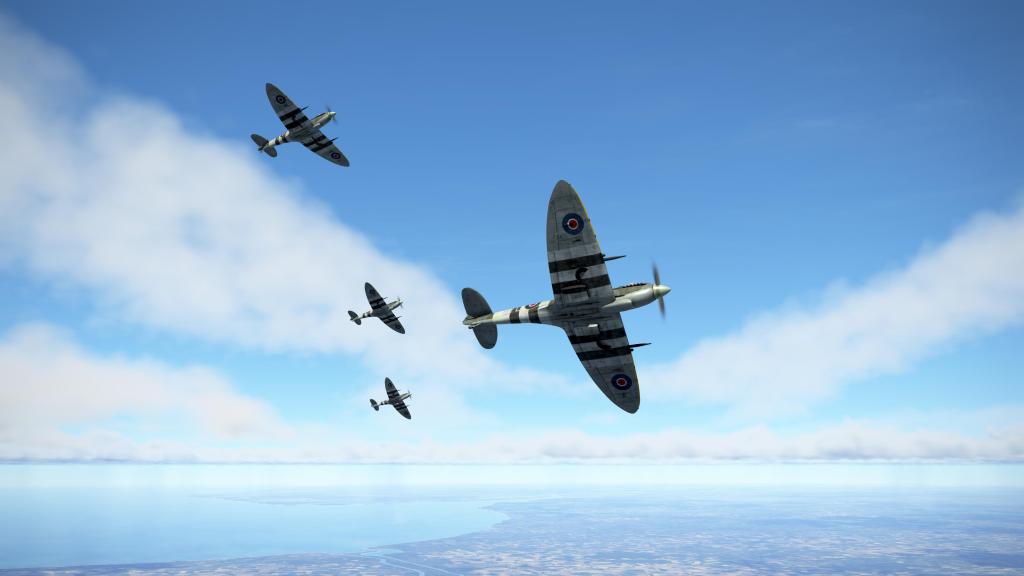
After takeoff, we turned east and followed the Normandy coast. It wasn’t long before we were over target, indeed the mission times are short here being so close to the frontline. Tracers and flak erupted in the distance indicating the fierce ground battles being fought by the British and Canadian armies in this sector.
Over the target, bursts from the flak guns appeared below but they were not accurate enough to stop our dive in onto the bridge. Releasing simultaneously, all of the Spitfires in my unit dropped causing damage to two of the spans with my bomb damaging one of the abutments. I’d say that was a destroyed bridge!
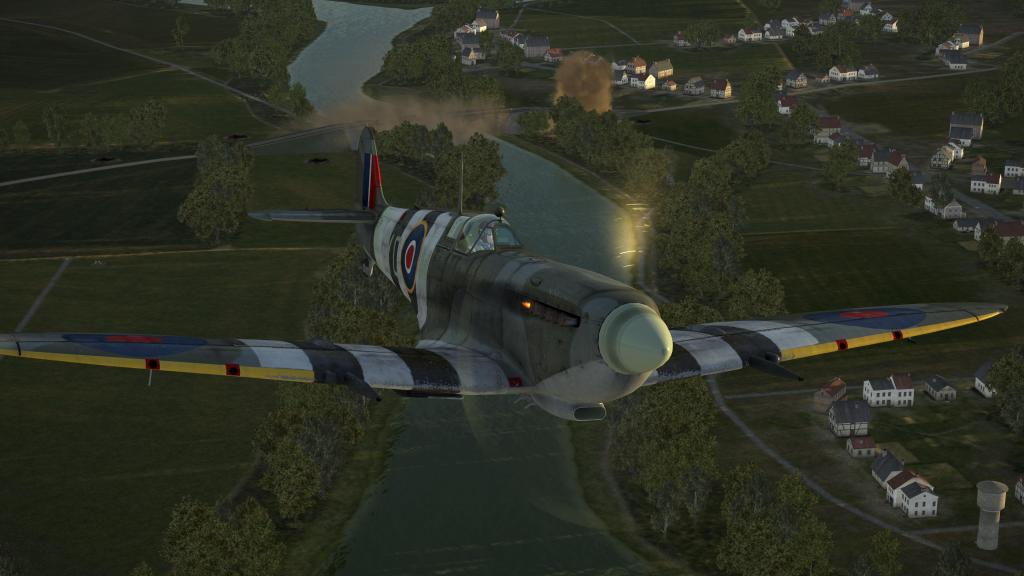
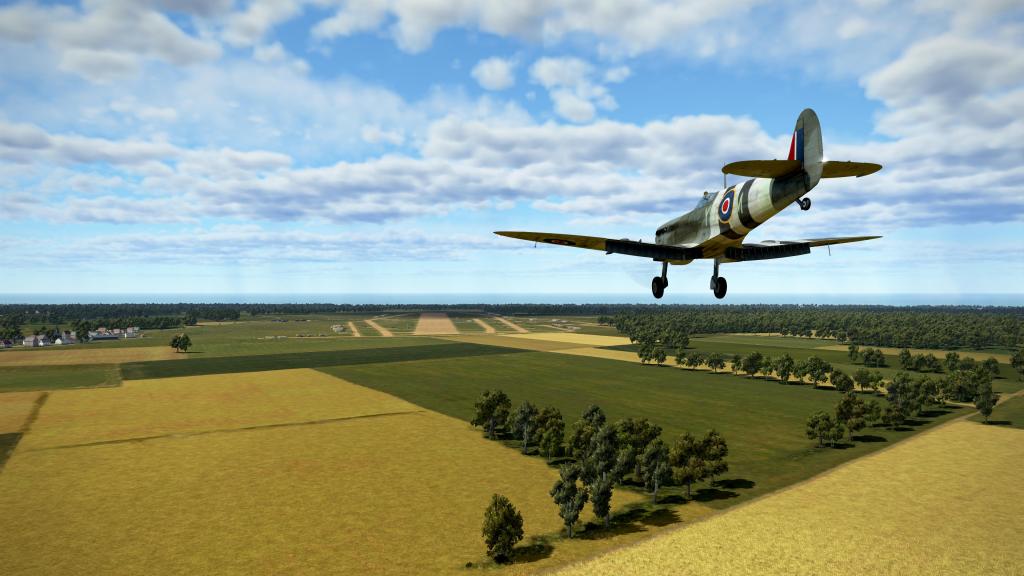
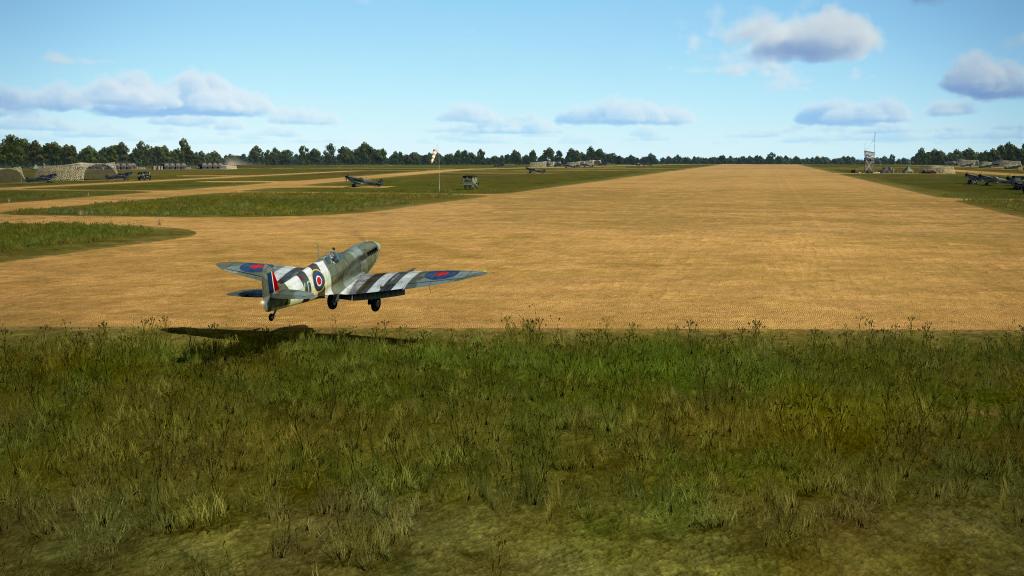
More flak rose up so it was time to head for home. A quick landing, with a minor bounce (bumpsy daisy!) and the mission was over. An easy start. More challenge ahead!
The surprise
Operation Epsom is the name of the second mission. It was a four day offensive launched by the British second army and aimed at seizing Caen (the operation ultimately ended in a draw).
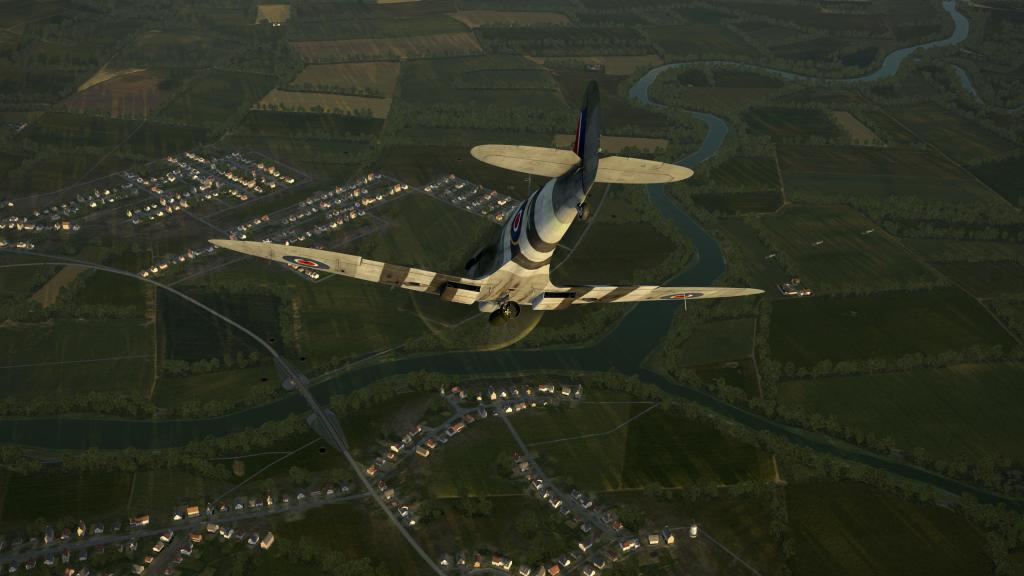
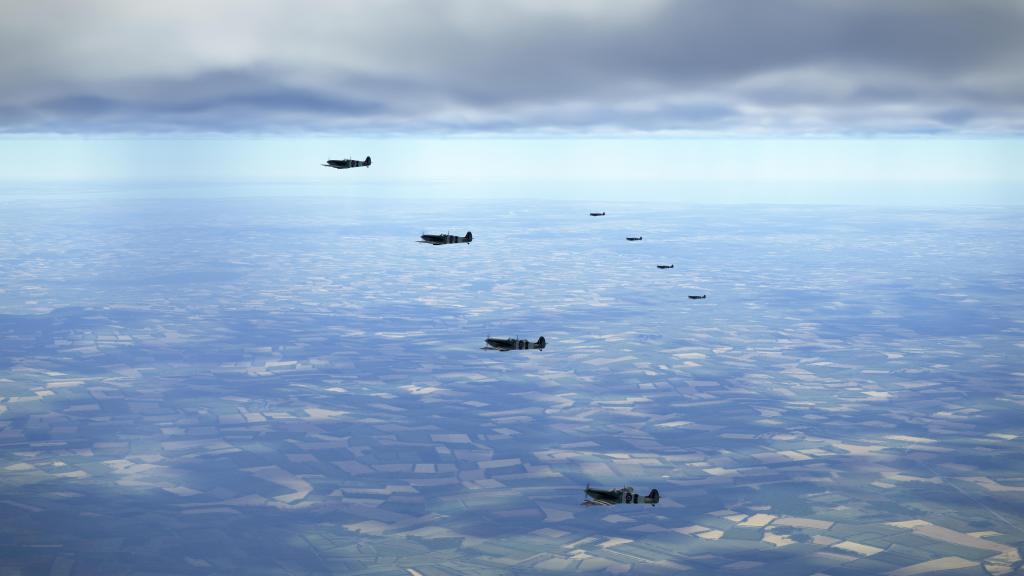
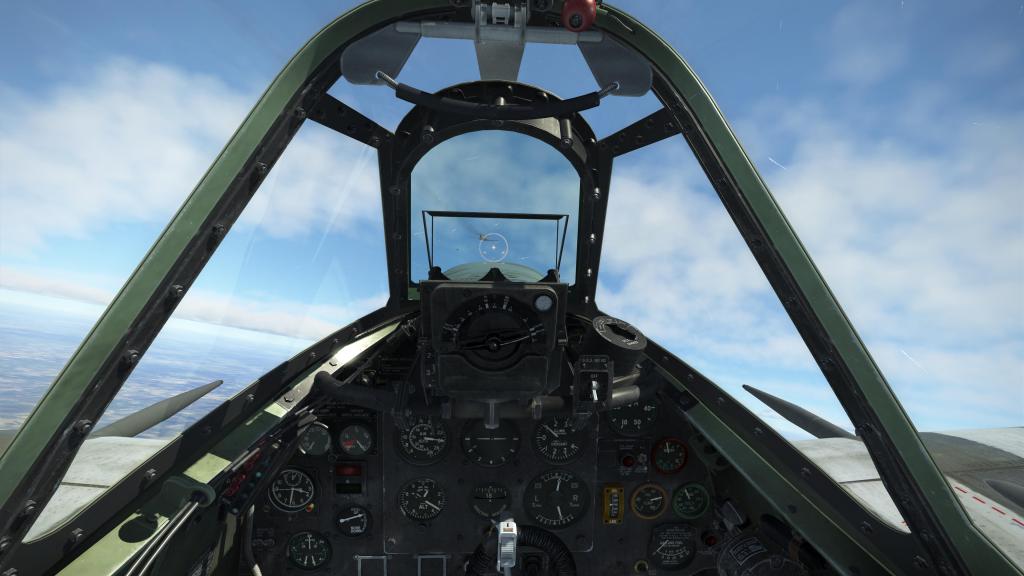
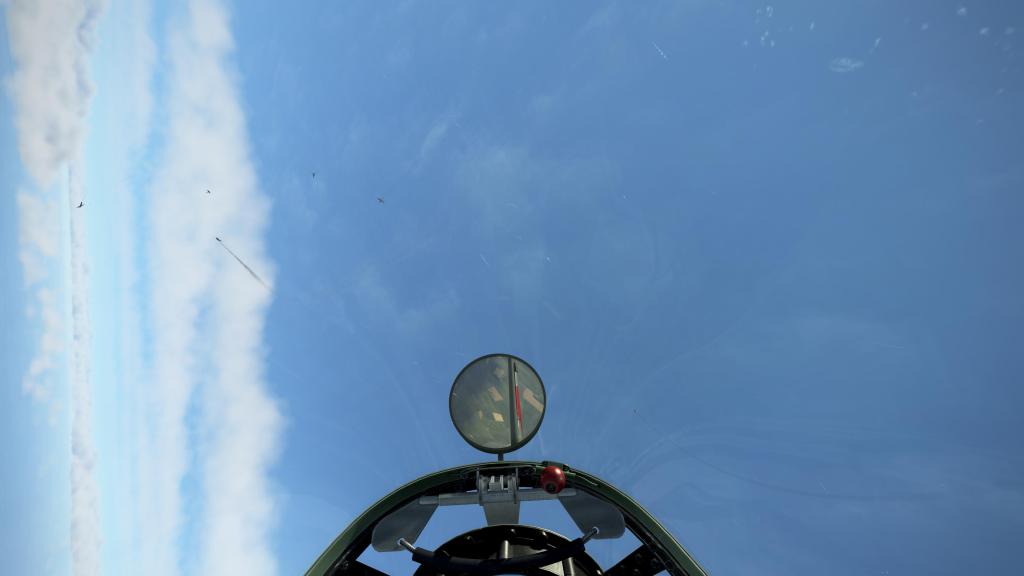
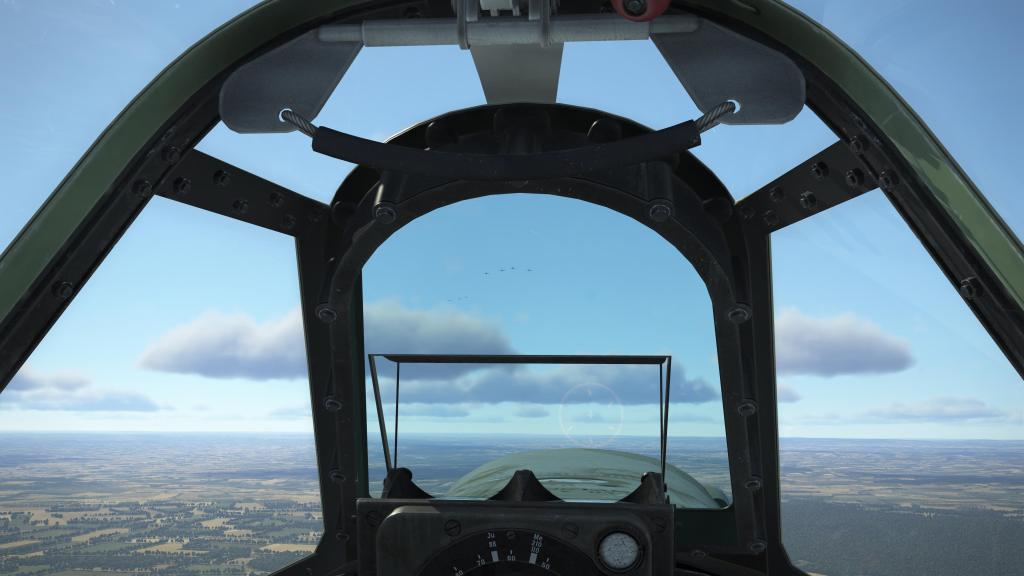
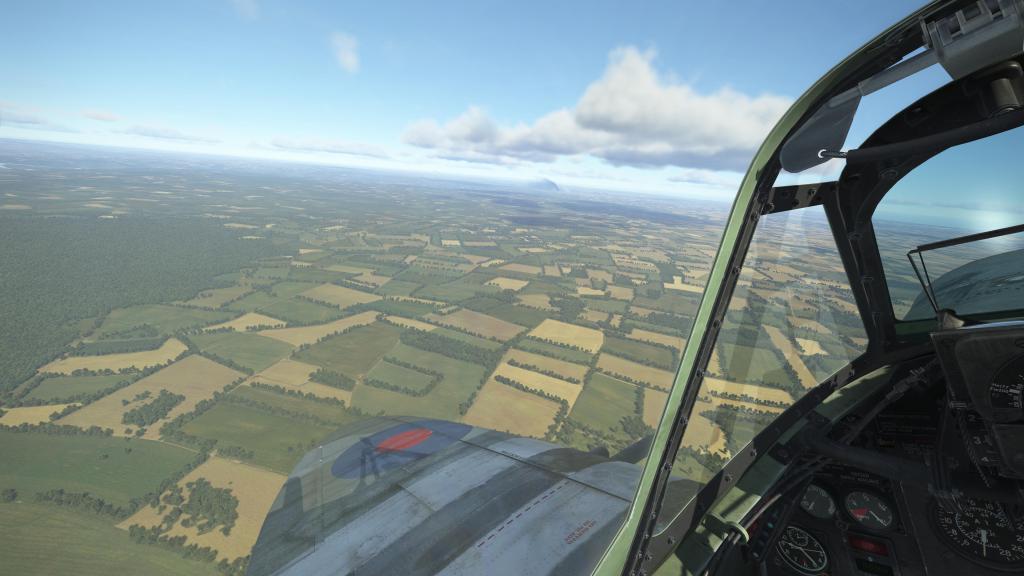
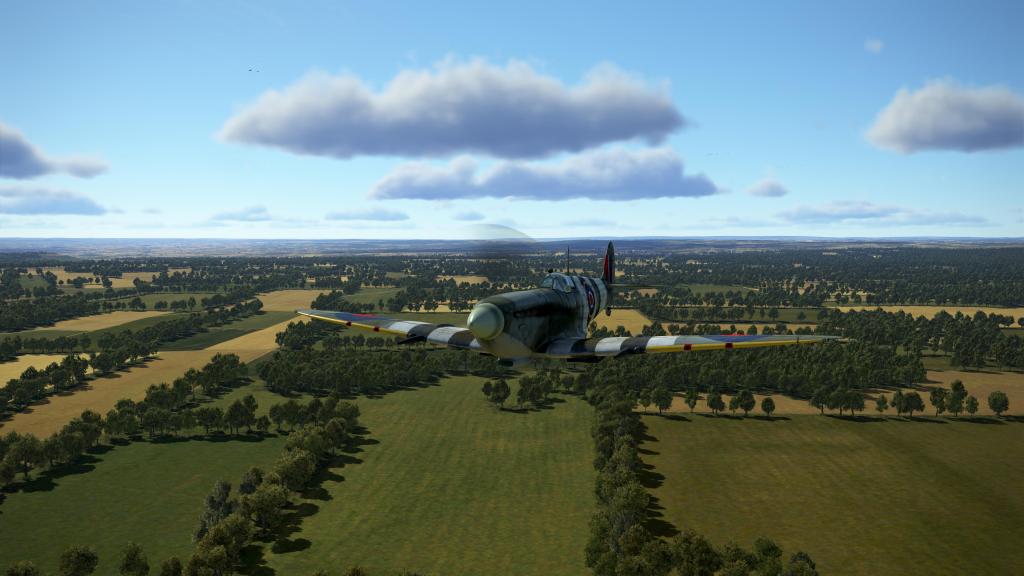
Our mission was to fly a patrol route aimed primarily at strafing enemy vehicle traffic. After takeoff, we headed south towards Caen and began to climb to prepare to be on the lookout for enemy ground vehicles.
This mission has a bit of a twist as your ground strafing mission goes sideways when a large group of Bf109s are spotted and your two flights of Spitfires break off the hunt for vehicles and instead fight a pitched battle with the 109s.
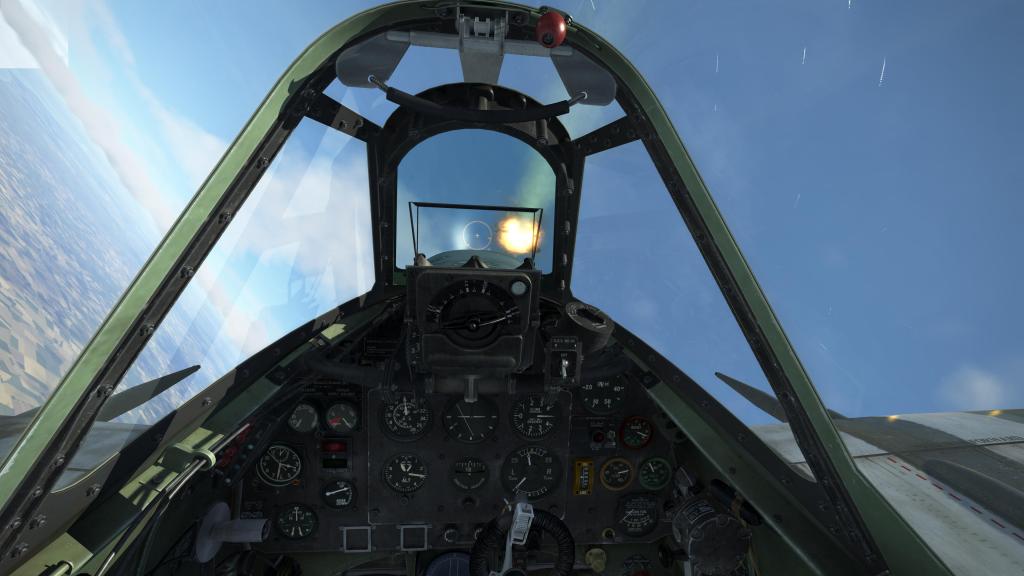
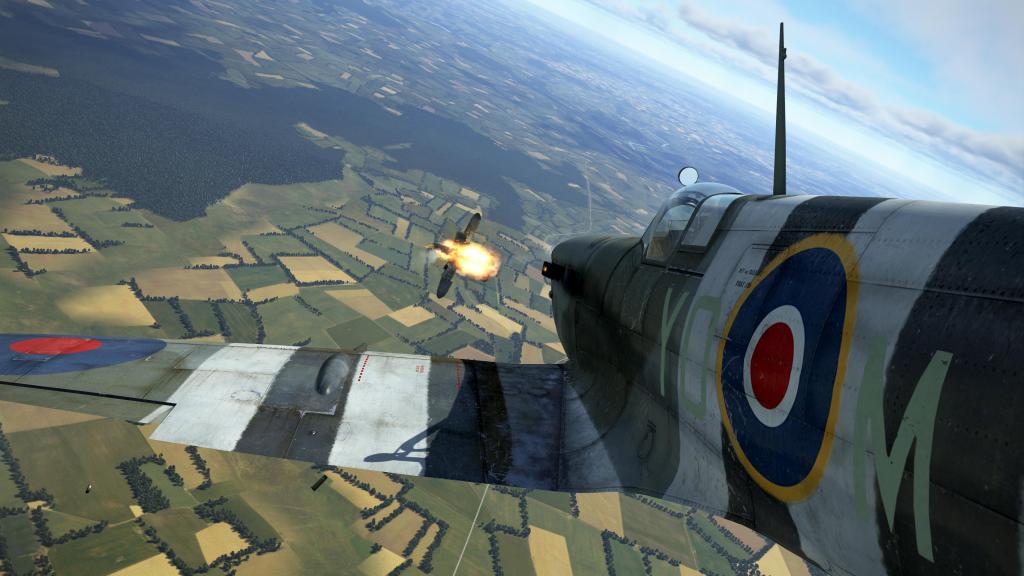
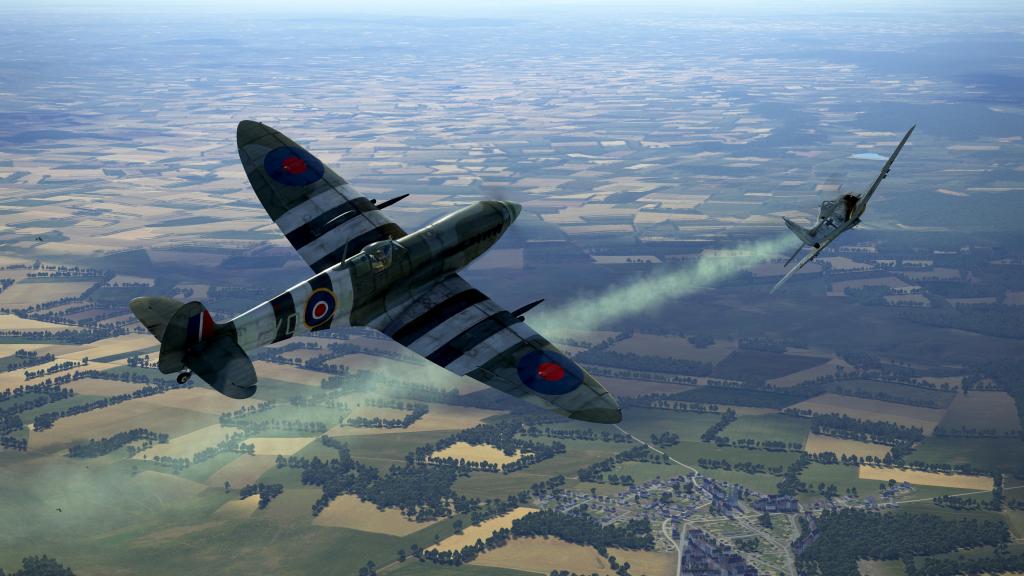
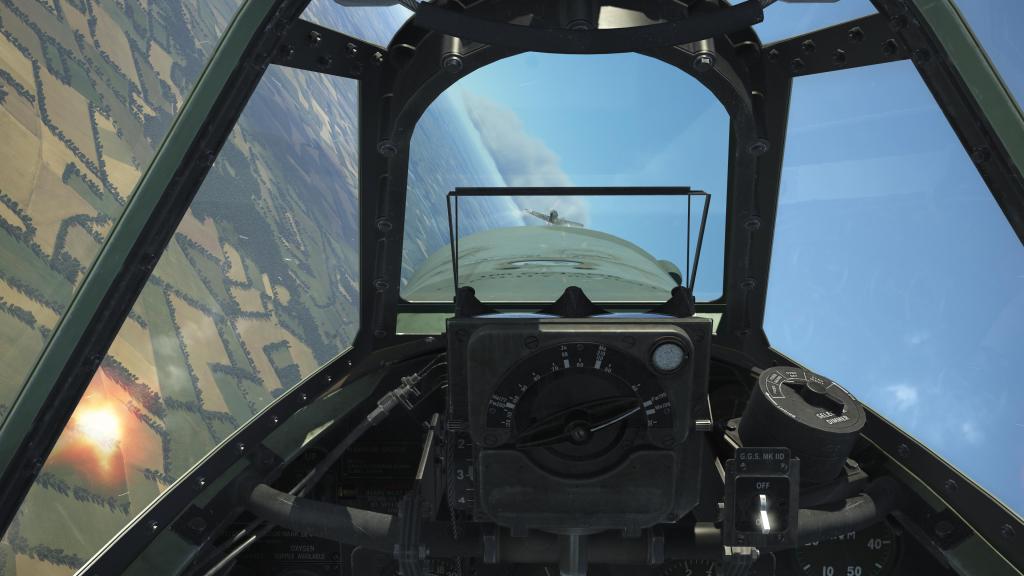
Climbing hard prior to contact, I was above the first 109 that I attacked. I dove on him in a tight turn at speed, careful to manage my approach speed.
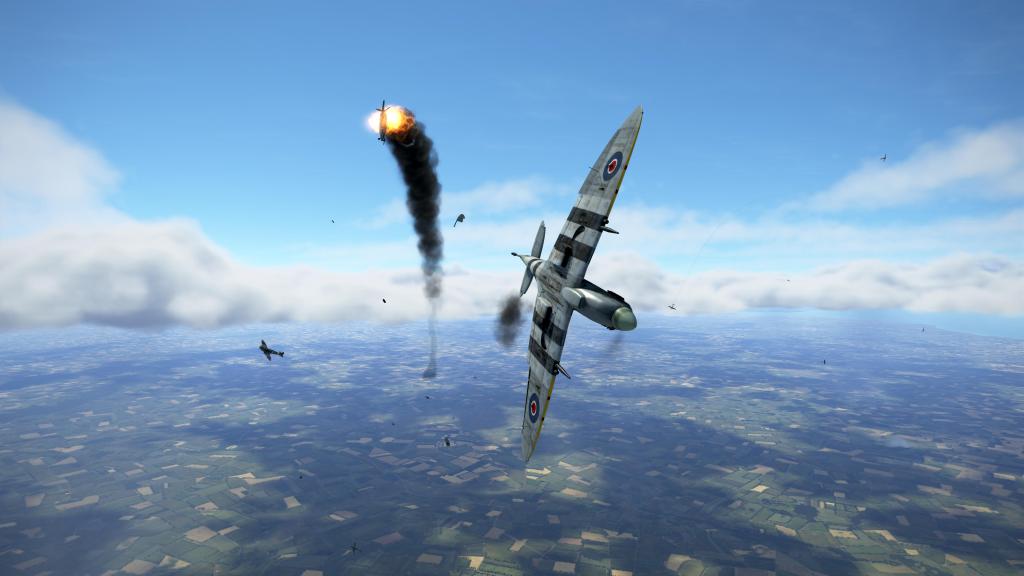
Lining up behind the 109, my first bursts were inconclusive, but a follow up shot caused the Bf109 to explode. Parts went everywhere and I flew through parts of the blast as the aircraft tumbled to the earth. Dramatic!
A Spitfire above me looked to be in trouble so I went to help. Climbing, it took a bit of time to get into firing position and by this time the 109 had broken off his attack. I scored a few good hits before a friendly Spitfire, who somehow missed me at range, landed the killing shot.
After action still gave me credit so… I’ll take it!
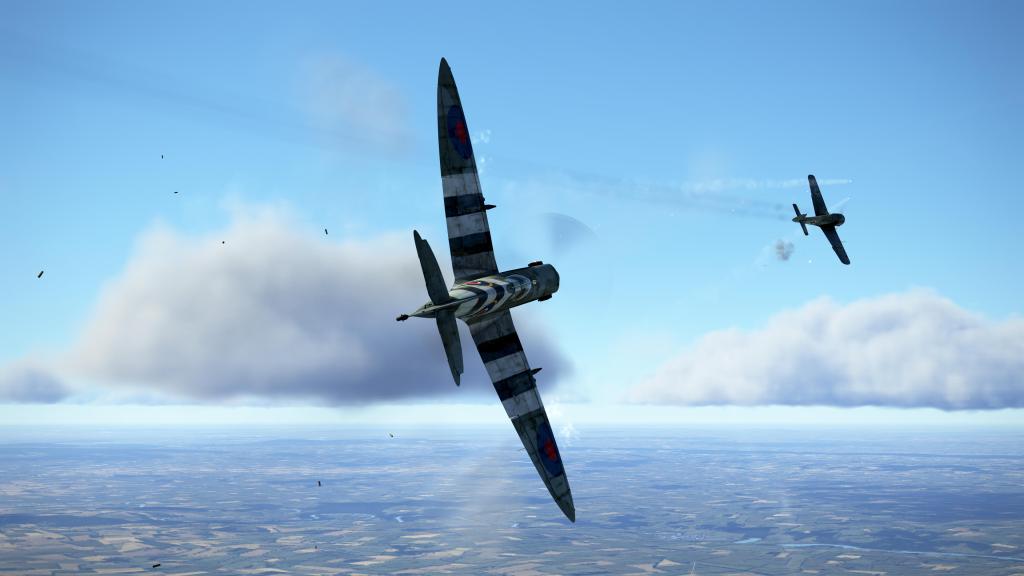
In the distance, to the north, I spotted more aircraft circling around in a pitched battle. So I powered up again and climbed up to about 10,000 feet looking to engage. And again a Bf109 flashed past me and I tore down after him. This third 109 erupted immediately after being hit… my second explosive kill of the flight.
With ammo nearly dry and just a few .303s left in the wing guns, it was time to depart. Bf109s were heading home and so were the Spitfires.
The rest of the flight was uneventful and I made a somewhat better approach and landing than my first flight. Let’s call it two and a half kills and a solid landing and an all in all great sortie.
The chase
If the first two missions kind of give you a bit of a preview of what’s to come, the third mission really kicks things into gear with a tense and interesting mission to challenge your Spitfire flying.
This mission started off like the others. Takeoff and head out on your assigned patrol route. It wasn’t long on station before things got interesting. Really interesting!
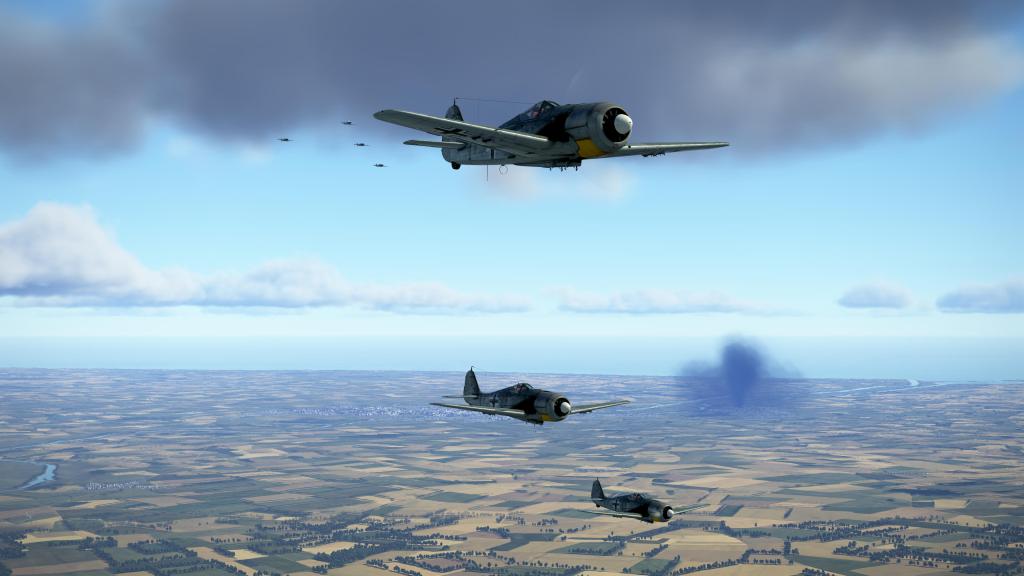
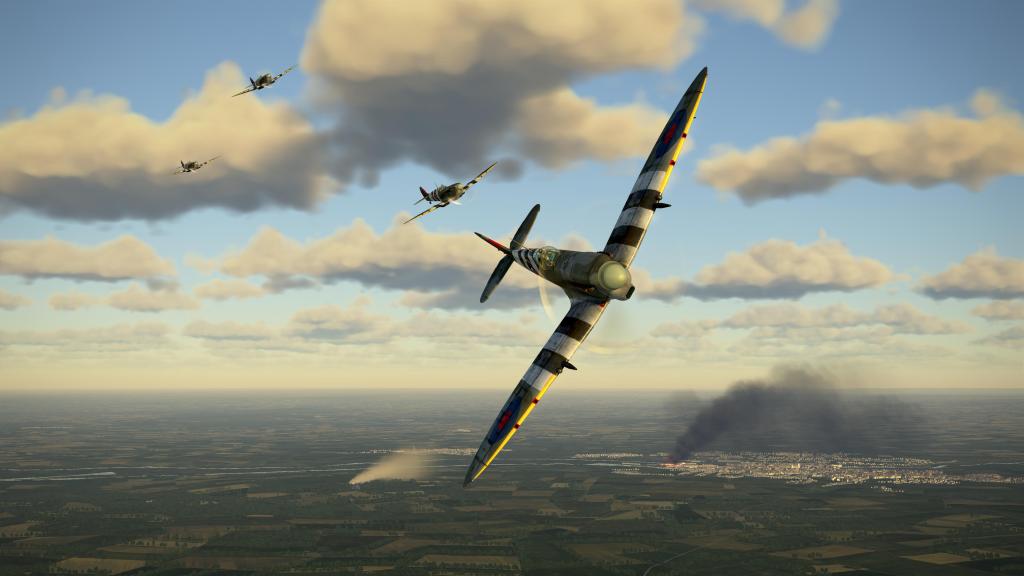
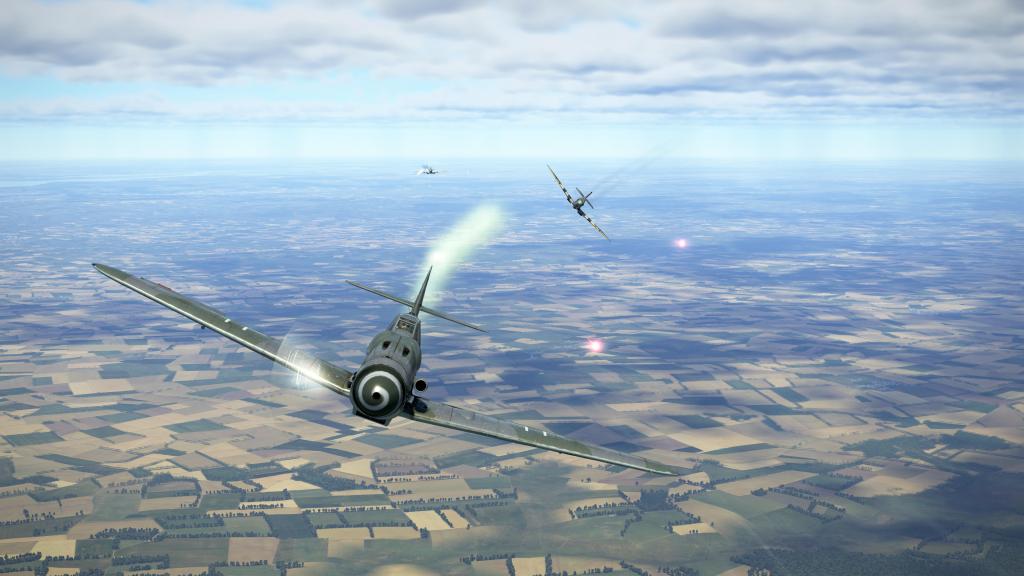
Below us I could see almost a dozen dots flying in formation and heading for German lines. Diving in with my squadron and closing in at high speeds (440 mph indicated at one point!) I could make out seven Fw190s and another four Bf109s. We were in for a fight!
Closing in, beneath the formation, I was almost able to surprise them when they broke hard. My flight had caught up at the same time and started to open fire. Three Fw190s were damaged including the one that I fired on while in a tight turn.

I broke off that one as more Fw190s became embroiled into the fight. I was keeping a watchful eye for the Bf109s as well but I hadn’t spotted them yet.
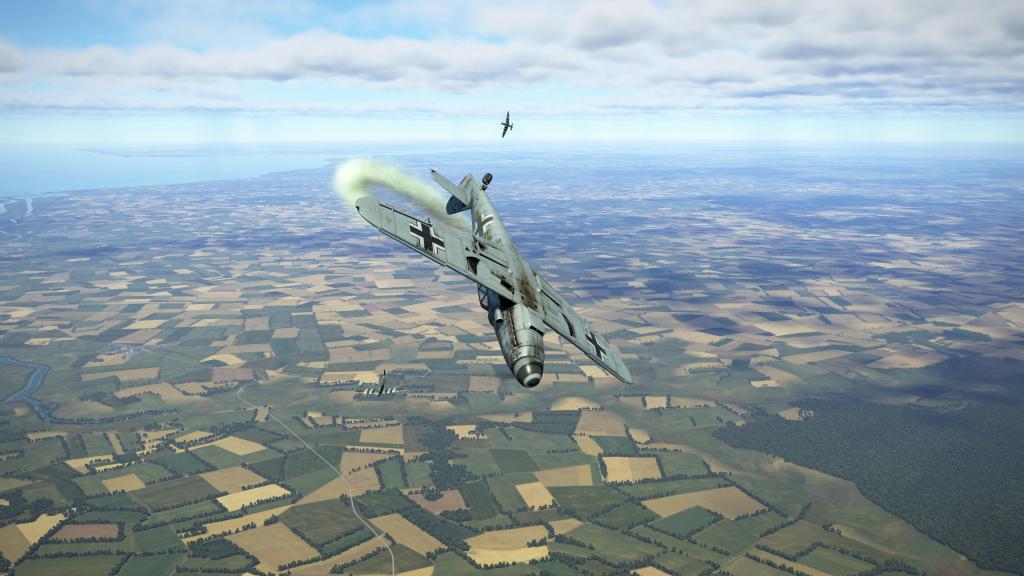
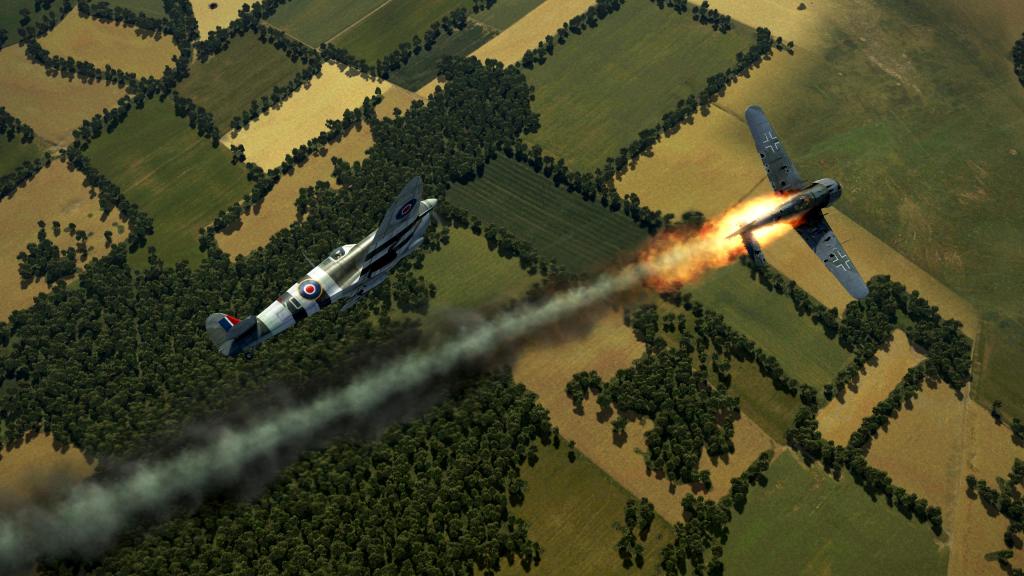
Another Fw190 circled above me and I climbed at maximum power.
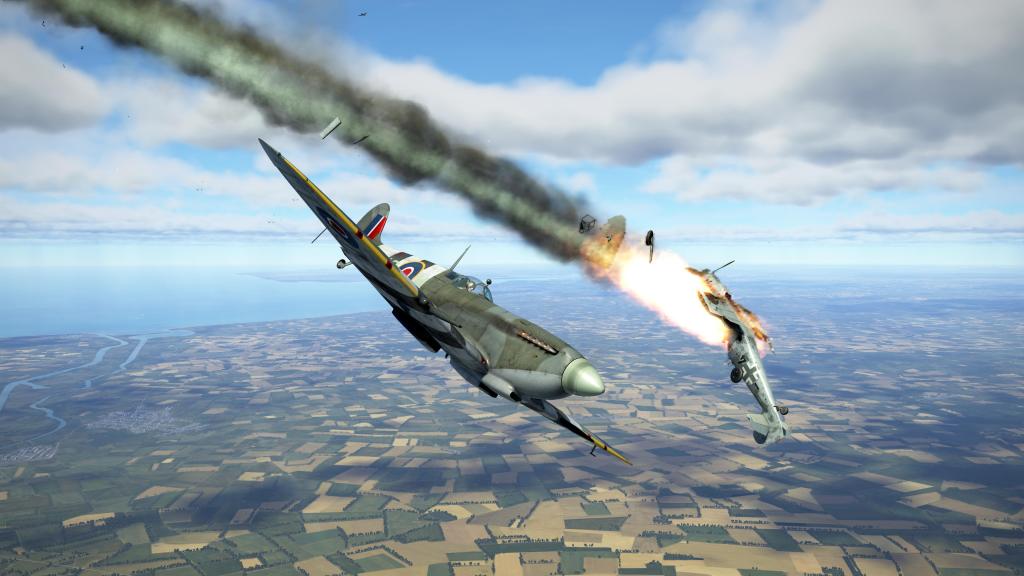
I fell in on his six o’clock and fired several deflection shots. I started to make connections with my shots here. He reversed his turn and I closed in. Now right on top, I fired a few more shots and the elevator flew off right past me. I broke off and the Fw190 tumbled down in flames!
With one damaged, one destroyed, and my ammo now feeling a little low… I decided now was a good time to bug out.
And that was a good time to do that because more dots appeared on the horizon. A second group!
I was prepared to use the last of my ammo if I had to and for a moment it looked like the Bf109 fighter escort was onto us. They briefly turned in our direction before resuming escort duties on the Fw190s.
I breathed a sigh of relief and my flight headed for home!

So far!
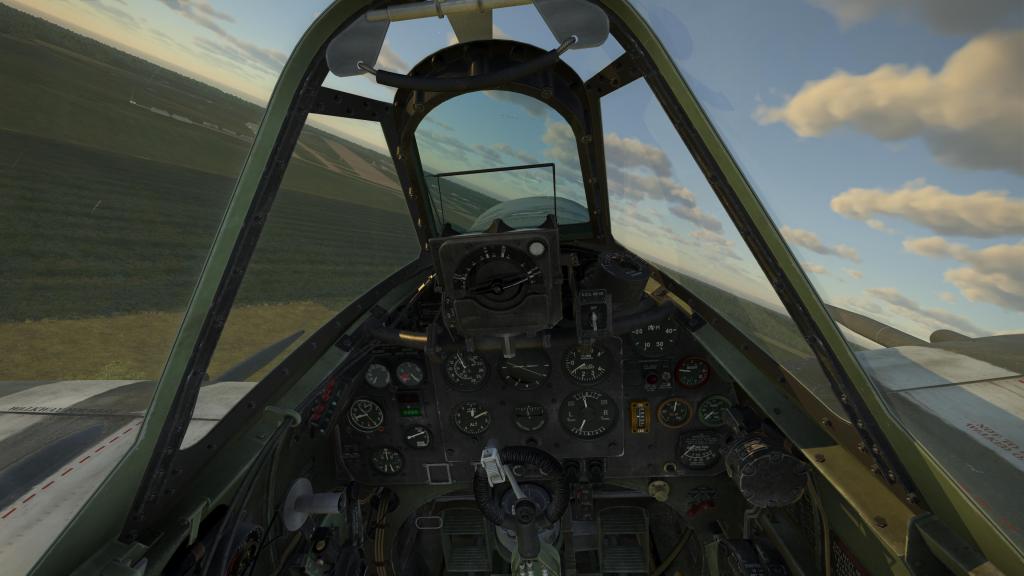
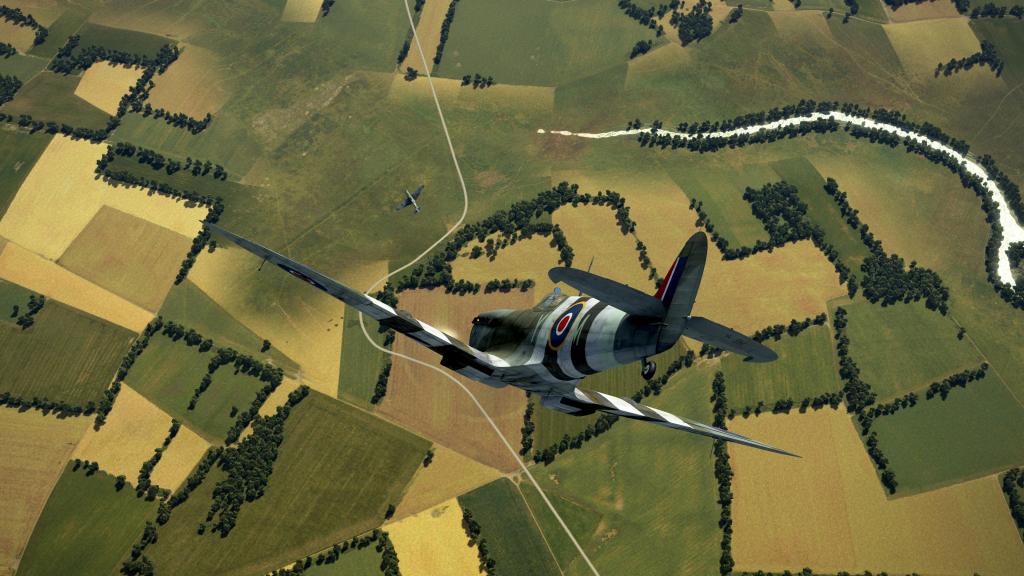
Ram Squadron has been a blast so far. The missions are, characteristic of Black Six’s style, short and a little sharp. Missions two and three have you in the thick of things while mission one helps lead you into the action and get you acquainted with the area, the mission and the plane. Still, I always recommend putting a little practice run into the aircraft you’re about to embark on in a campaign before you start. With hundreds of hours (or more?) on the Spitfire IX specifically, this is an airplane that fits me like a glove so flying this campaign has been a real pleasure.
I’ve got more missions to fly before I do the review so stay tuned for that!


Leave a comment